

Uploading an Attachment to Benchling
Overview
Attachments are arbitrary files that can be uploaded to Benchling and added to schema fields and some other objects in Benchling. The V3 API calls them attachments; the V2 API called the same model a blob.
After an attachment has been uploaded, it can be linked to another object, such as a Result or an entry, through an Attachment schema field. Attachments are not accessible on their own, and can only be accessed from a parent object they are linked to.
In V3 an upload takes two objects. You upload the bytes to a scratch file, then create an attachment from that scratch file. To put a file into the body of a notebook entry, you skip the attachment and insert the scratch file into the entry as an attachment part, as shown in Attaching a file to a notebook entry.
The V3 scratch file, attachment, and entry endpoints are beta. Set early_access="true" on the client, as in the examples below, or send the EARLY-ACCESS: true header on raw HTTP requests. See the V3 Stability Guidelines.
Every example below uses this client. Pass your tenant’s root URL; the SDK adds /api/v3 itself. See Getting started with the V3 SDK to install it.
Uploading a file
Uploading a file takes four calls:
- Create a scratch file with
scratch_file.create. The response carries anupload_url. PUTthe raw file bytes to thatupload_url, with the headerx-amz-server-side-encryption: AES256. TheContent-Typeheader you send on thisPUTbecomes the attachment’s MIME type, so set it to the file’s type.- Mark the upload finished by setting the scratch file’s
upload_statustoSUCCEEDEDwithscratch_file.update. - Create the attachment from the scratch file with
attachment.create.
There is no base64 encoding and no MD5 hash in V3; the bytes go to the upload URL as they are. Setting generate_image_preview=True lets Benchling show a preview of an image, which is what the V2 VISUALIZATION blob type did. There is also a generate_pdf_preview flag for files that should get a PDF preview.
For UTF-8 text up to 10 MiB, such as a CSV, scratch_file.create_and_upload(contents=..., filename=...) replaces the first three calls with one. Binary files such as images go through the upload URL.
Store your attachment ID
Attachments are not searchable on their own: V3 can get an attachment by ID, but it has no endpoint that lists them. If you do not persist the ID before linking the attachment to a parent object, it will be “lost” and you’ll have to re-upload the file. Make sure to store the returned attachment ID so you can link it to a parent object.
Uploading a large file
V2 split files larger than 10MB into parts with its multipart blob endpoints. V3 has no multipart upload: the whole file goes to the scratch file’s upload URL in one PUT. See Large Attachment Upload for streaming a large file from disk.
Linking attachments to schema fields
Most types of schemas within Benchling support a schema field type called Attachment, called blob_link in V2. These fields are where attachments are linked to objects and become accessible in Benchling.
Once an attachment has been created, update the associated object and set the attachment field to the attachment ID, passed as a plain string. V3 attachment IDs look like attachment_ followed by letters and digits.
An Attachment field also accepts a V2 blob ID (a UUID) when you write it, so files uploaded through the V2 API can be linked the same way. Reads always return the V3 attachment ID, even for a field written with a blob ID.
Upload the file
For this example, we’ll upload hello.png as shown in Uploading a file and keep the attachment ID it returns.
Create an Empty Attachment field
As an example, we’re going to use a notebook entry schema with a single Attachment field. See our help documentation for more information on entry schemas. This is just for example purposes though, and the process is nearly identical for all other schematized objects in Benchling.
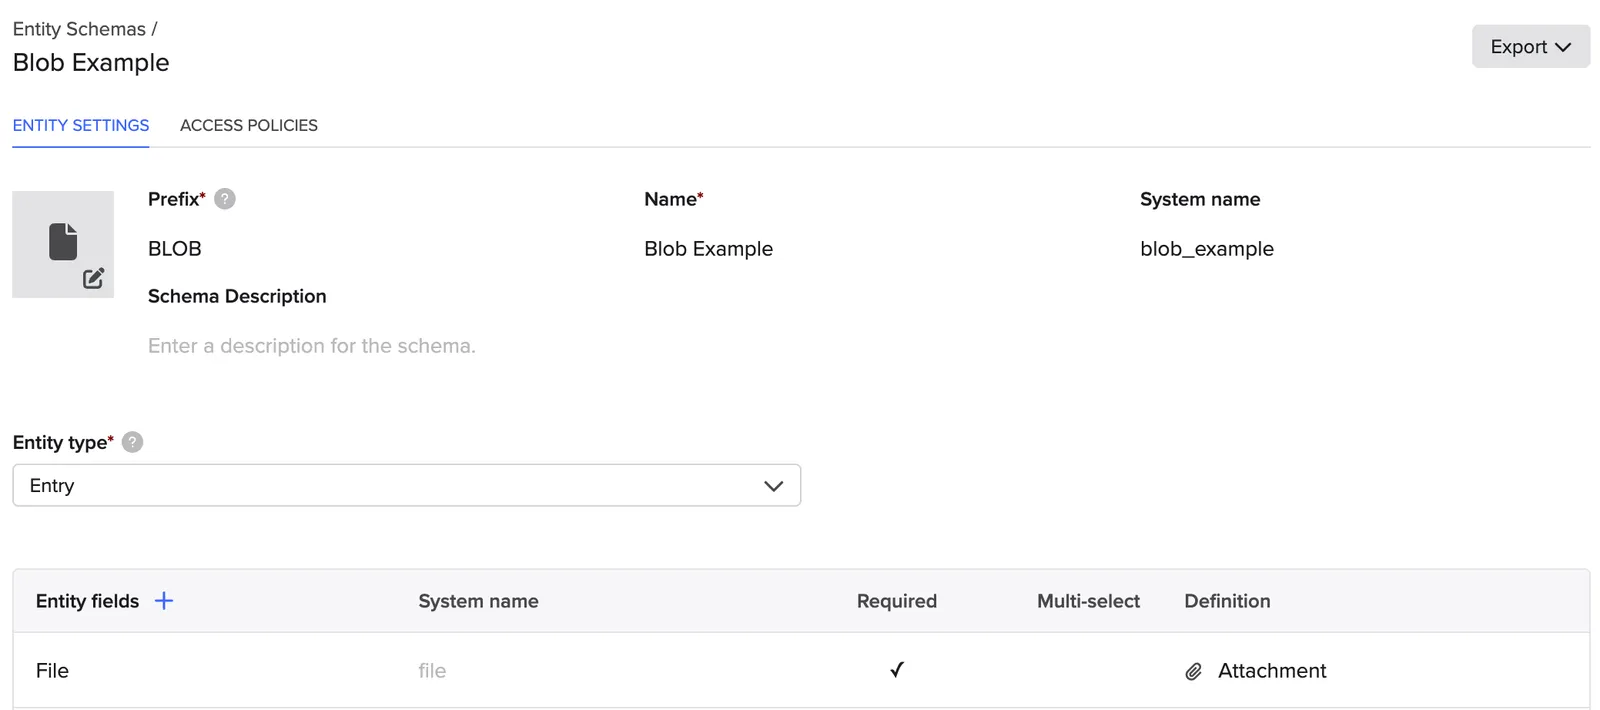
We’ll now create an entry and assign it the example schema.
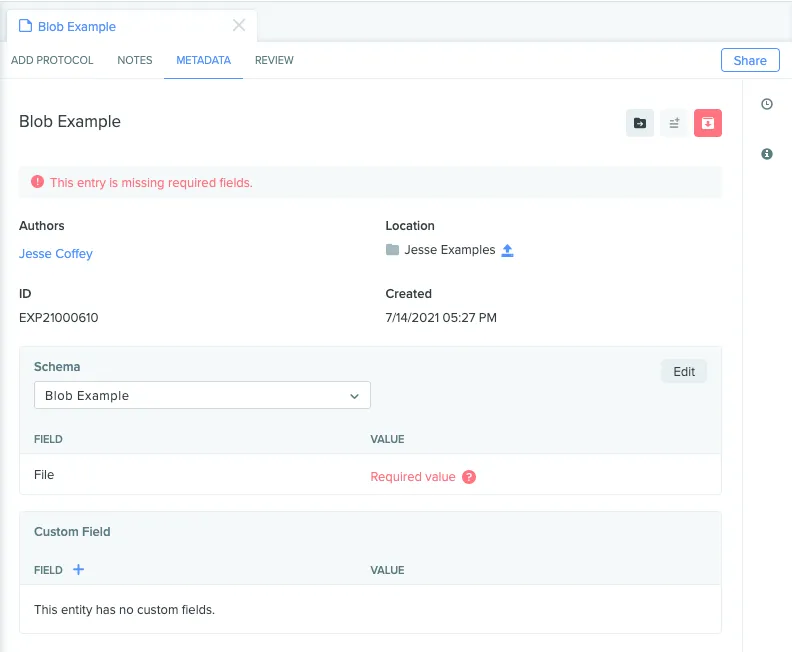
We now retrieve the API ID of that entry by either:
- Copying the API ID in the UI
- Listing entries and filtering by name:
We now have our entry’s API ID! For this example, it’s etr_ZbYBCbAi.
Now that we have the API ID of the destination parent resource and the ID of the attachment we uploaded, we can finally link the two together.
Link the attachment
To link the attachment to the entry, update that field on the entry with entry.update. Schema fields are keyed by the field’s name, not its display name; this example assumes the “File” field’s name is file:
The SDK sends this request body to PATCH /api/v3/entry/etr_ZbYBCbAi, and the response is the updated entry:
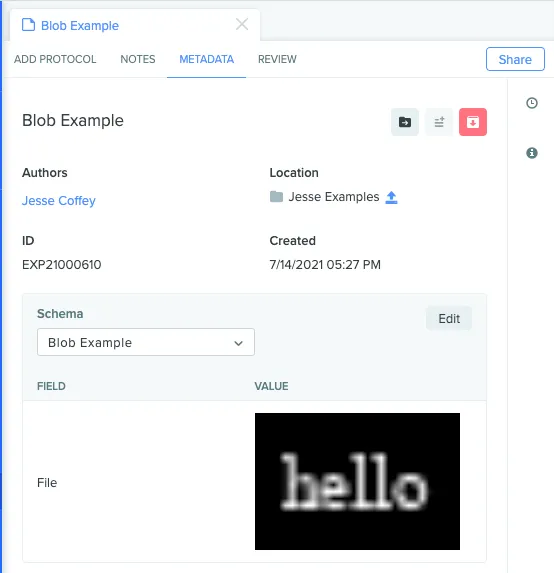
And we can see our file in the UI!
Attaching a file to a notebook entry
Attachments in the body of a notebook entry are separate from Attachment schema fields. To add a file to the entry itself, upload it to a scratch file (steps 1 to 3 of Uploading a file) and insert it into the entry as an attachment part with entry.update. The part takes the scratch file ID, and the scratch file upload must be complete first.
An insert names the entry’s current version, which you read from the entry. If the entry changed since you read it, the request fails with HTTP 409, so read the version again and retry.
position can also be beginning_of_document, or a document part ID to insert immediately before that part. entry.create accepts the same attachment part in its parts list, for a new entry that starts with the file.
The parts_mutation is passed as a plain dict because the SDK’s UpdateDocumentPartsInput model types coordinates for the delete operation only, so it rejects the position an insert needs.
Check out the other examples for more info on how to use the developer platform, or try this out with new schema types like entities or results!