

Custom Transforms in Benchling Connect
Background Knowledge
Custom Transforms are a way to inject arbitrary logic into Benchling Connect’s processing pipeline. The user will upload a file to a Run’s Automation Output Processor, invoke the transform by attempting to “process” the uploaded file, and then Benchling will wait until an integration writes back a blob.
Once the transformed file has been written to Benchling, the Automation Output Processor will continue to process the file according to the configuration in the Run’s outputFileConfigs.
Why this page uses the V2 SDK
V3 is the recommended API for new development, but it has no automation file transform endpoints. V3 exposes the automation configs read-only, at GET /api/v3/run-schema/{run_schema_id}/automation-input-file-configs/items and .../automation-output-file-configs/items, and nothing that updates a transform. Writing a transformed file back uses PATCH /api/v2/automation-file-transforms/{transform_id}, which the V2 Python SDK (benchling-sdk) wraps as benchling.lab_automation.update_transform. The transform events are V2 events too, and the write-back’s blobId must be a V2 blob ID (a V3 attachment ID is not accepted), so this whole flow stays on V2.
Custom Transform
Custom transforms use a Benchling App to do the transformation, and are configured as part of the processingSteps in the outputFileConfigs of a Benchling Connect Run schema.
Below is an excerpt of a Run Schema that only executes a Custom Transformation.
User Flow
A user will upload a file to the Automation Output Processor via inserting a Run into a Notebook entry, or via API.
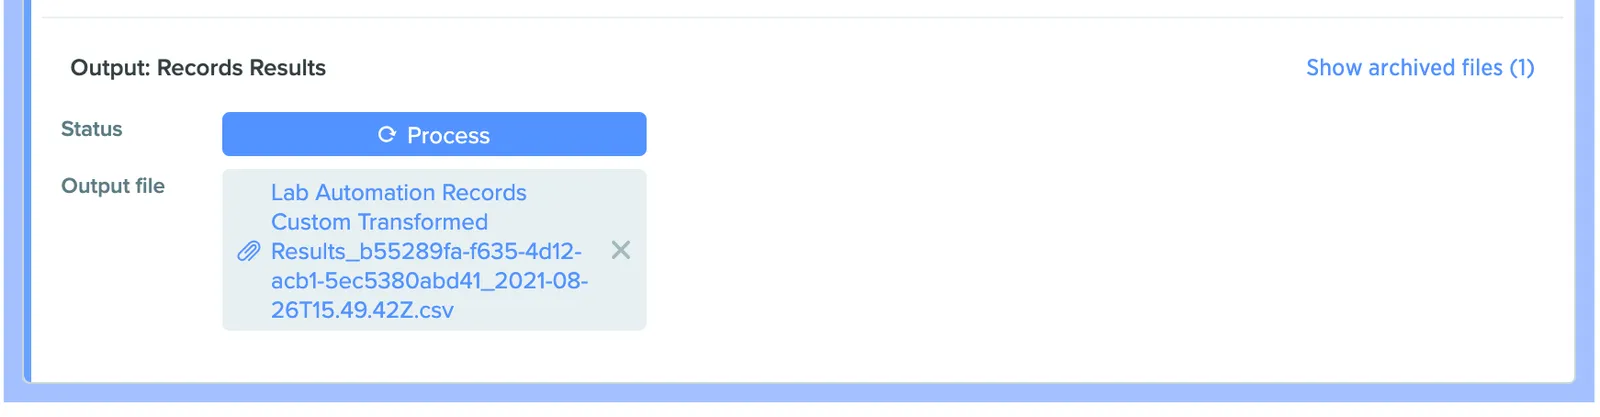
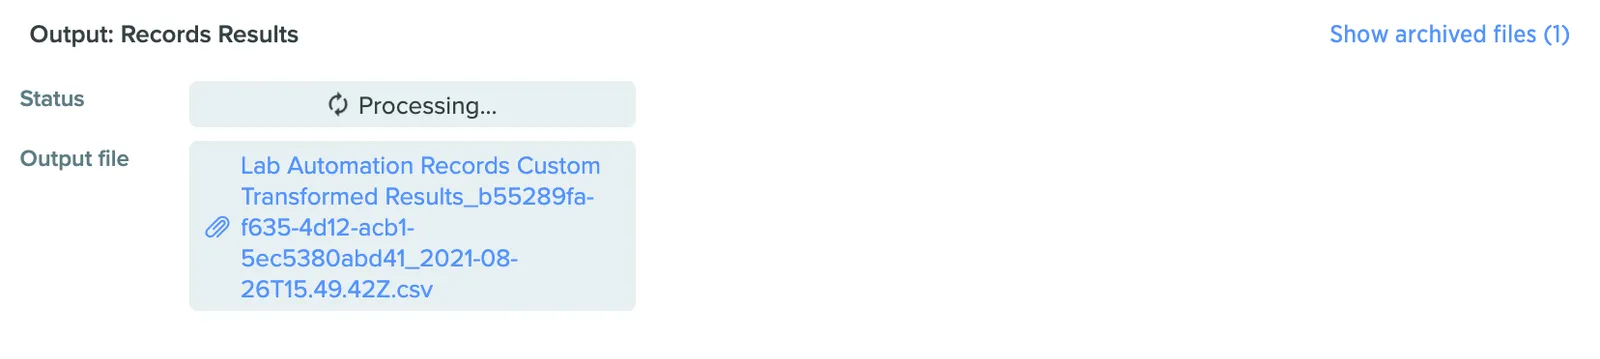
When the user clicks “Process”, the “Processing” indicator will spin until an integration writes back by updating the transform (PATCH /api/v2/automation-file-transforms/{transform_id}).
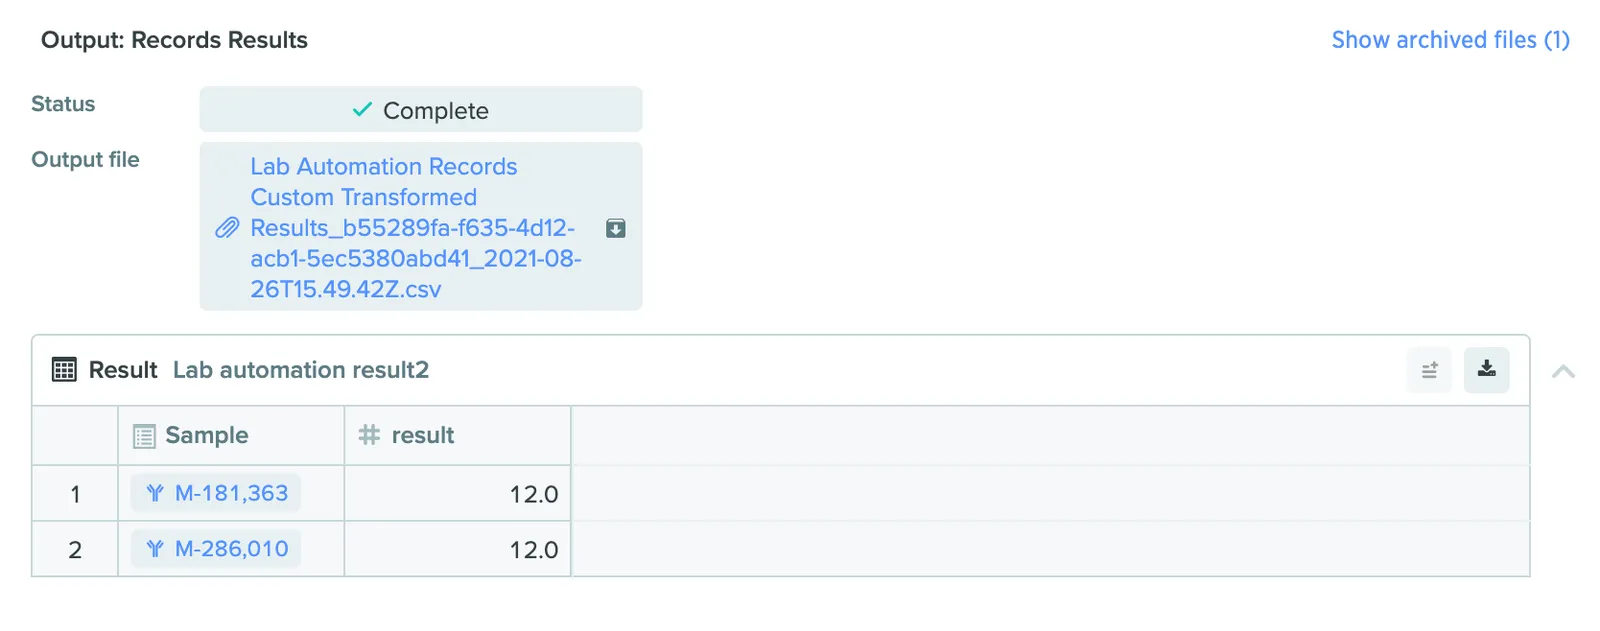
If the integration writes back a blob, then the processor pipeline continues on.
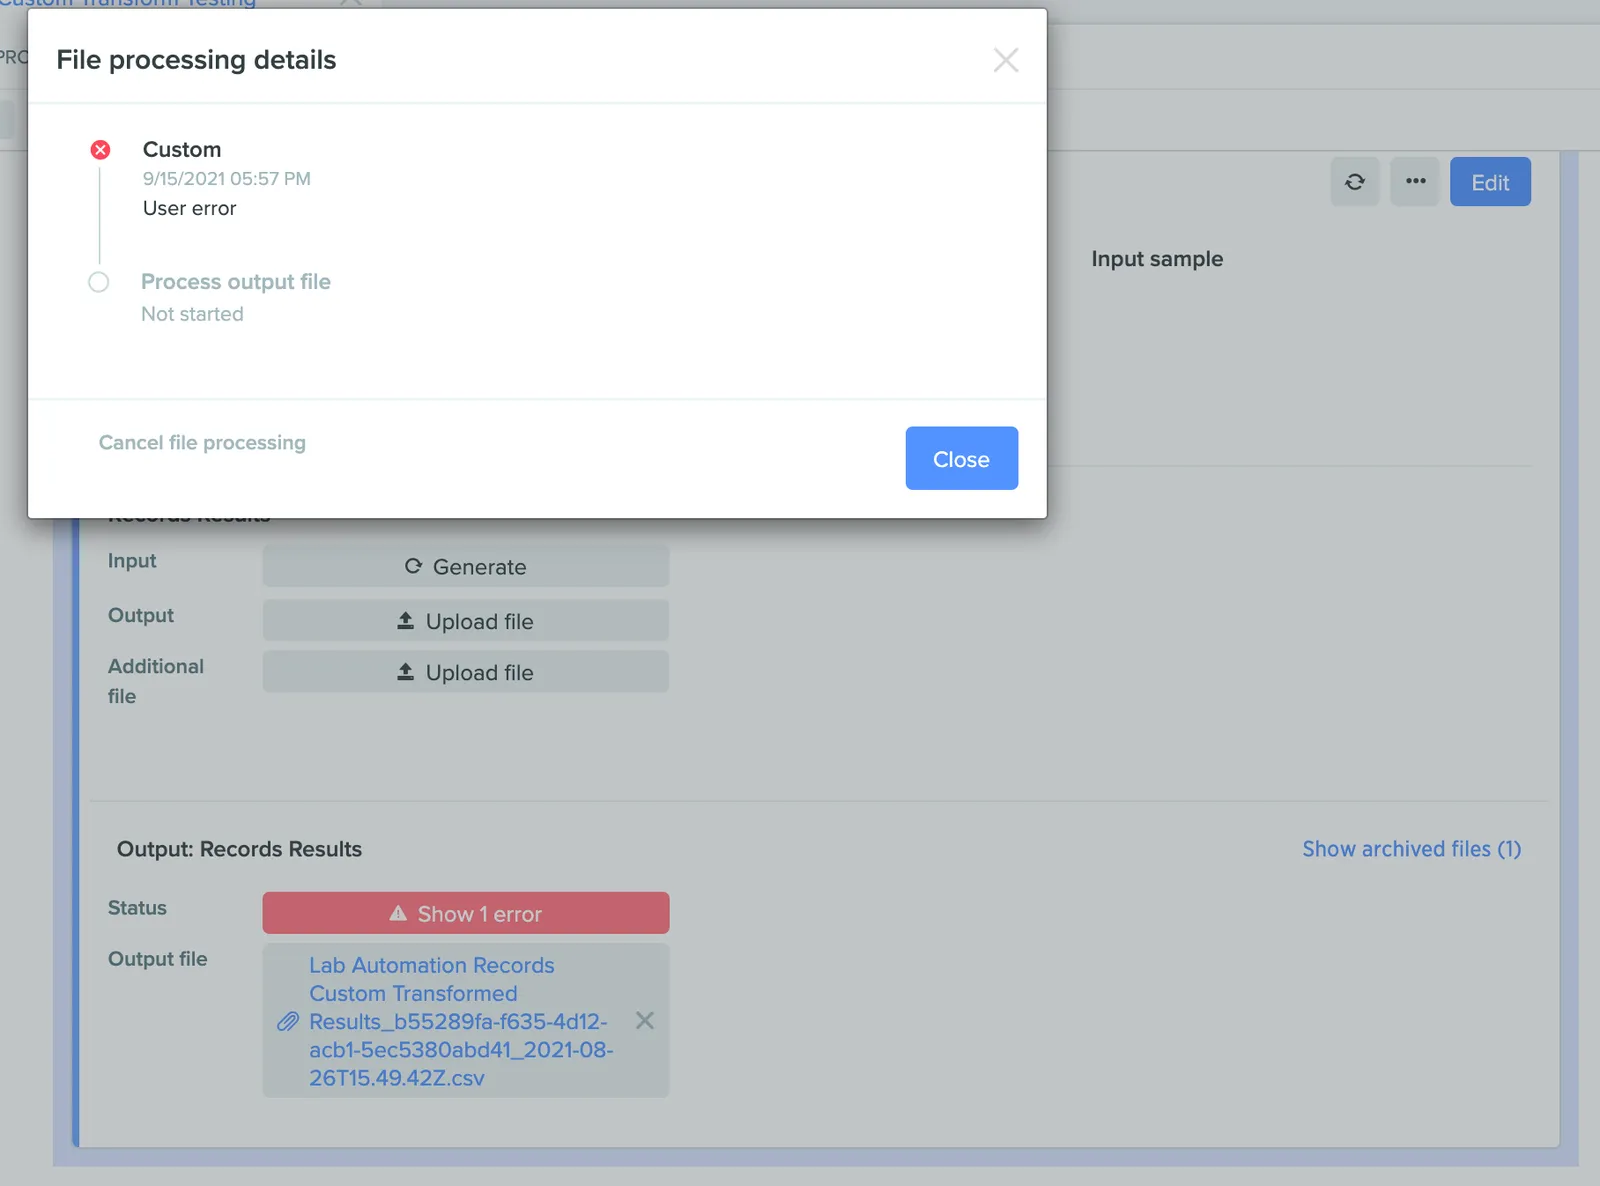
However, if the integration writes back an error, this will cancel the Automation Output Processor.
Integration Walkthrough
Now that we have seen how we would use a Custom Transform, let’s discuss what’s going on under the hood.
A Top-Down View
The core functionality of any Custom Transform integration, built as an event-driven AWS Lambda, will look like this:
Let’s break that down a little.
fetch_blob
This helper function retrieves the original file uploaded to the Automation Output Processor and reads it into a pandas DataFrame.
do_business_logic
Here, any programmatic transformation of the input blob is possible. You can look things up from external sources, collate metadata, report out to other systems; anything you deem necessary.
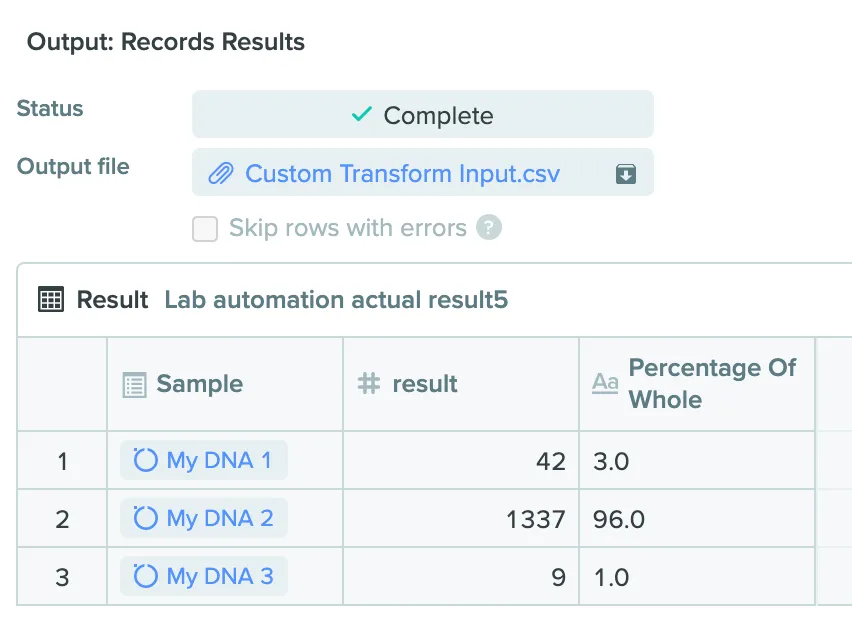
Please refer to the example below, which calculates the “Percentage of Whole” for each row’s Result value.
With an updated Result schema (to capture the additional column we just created), we would expect to see:
create_blob
This function takes the processed_data from do_business_logic and generates a blob in Benchling.
Assuming that our processed_data is a pandas DataFrame, the function could look like:
create_from_bytes takes bytes, not a string, and requires a name for the blob.
set_transform_output
This function performs the action of writing the newly-created blob back to the Automation Output Processor in Benchling.
Notice that the update simply includes the blob ID and has no definition of errors.
set_transform_error
If the Transform fails, the integration writes back details of the failure to the Automation Output Processor.
Notice that the update only includes errors, and does not provide a blob to the Automation Output Processor.
Full Code Example
Here is a lambda handler that responds to a v2.automationFileTransform.updated.status.running event and writes a blob back.
Appendix
AWS EventBridge Rule
Here is an example EventBridgeRule to invoke the above code. The customTransformId is the ID of your Benchling App.
Benchling Connect Run Schema
Here is an example of a Benchling Connect Run’s schema, written in JSON.