Getting Started with Benchling Apps
Overview
What are Benchling apps?
The Benchling App Framework lets you extend your teams’ experiences on Benchling with custom applications. It allows you to develop, define (i.e. with a name, description, etc), identify, manage, and permission integrations independently and scalably.
What about hosting my app?
We currently do not provide a hosting environment for apps, but highly recommend leveraging AWS’s Lambda and/or EC2 services or the equivalents in other cloud providers. Many customers already leverage these technologies and they can be very simple to get started! They are not required though, and apps can be run anywhere that can connect to Benchling’s APIs, including on-prem servers.
When to use Benchling apps
Benchling apps are intended to be used when building a long-lived application or integration via Benchling’s developer platform. They usually are 1:1 with a project, integrated system, or git repository. EG: “Slack app”, “Jira app”, “Liquid Handler app”. Any time you’re kicking off a new development project, you should likely create a new Benchling app.
They are not strictly necessary when building one-time scripts. For instance, if you want to do a 1-time bulk migration scaling a schema field’s value from “meters” to “centimeters”, you can use your personal credentials to gain access to the APIs.
What can a Benchling app do?
Benchling apps allow you to define an application which has unique credentials and unique permissions (similar to a user) on the Benchling platform. This means each app can be configured, accessed, and permissioned independently.
This can prove useful in a few key ways:
- Developers and Admins can understand which application might have performed a specific action by checking the audit logs or activity logs.
- Users can see when an app took action or created something in Benchling, giving them greater understanding of what’s happening.
- Apps make it easier to follow the principle of least privilege, isolating and limiting the capabilities and access of an app to the minimum necessary to accomplish the specific task.
- Apps have their own individual rate limits, allowing apps to function without impacting other integrations by consuming a shared rate limit.
With the new Beta release of App Canvas, Benchling apps now have access to Benchling-coded UI components with developer-defined inputs and blocks that can handle interaction with the Benchling platform. (see: Introduction to App Canvas)
Getting Started
Getting Access
To get started with creating your first Benchling app, first make sure you have access to the “Developer Platform” capability. Check out how to get access in this Help Center article, or check out our guide on Capability Management more generally.
Where to find apps
Apps owned by tenant
All apps that were created by a user on your tenant appear under Feature Settings > Developer Console > Apps.
The apps listed on that page can be edited by tenant admins and the owner of the app.
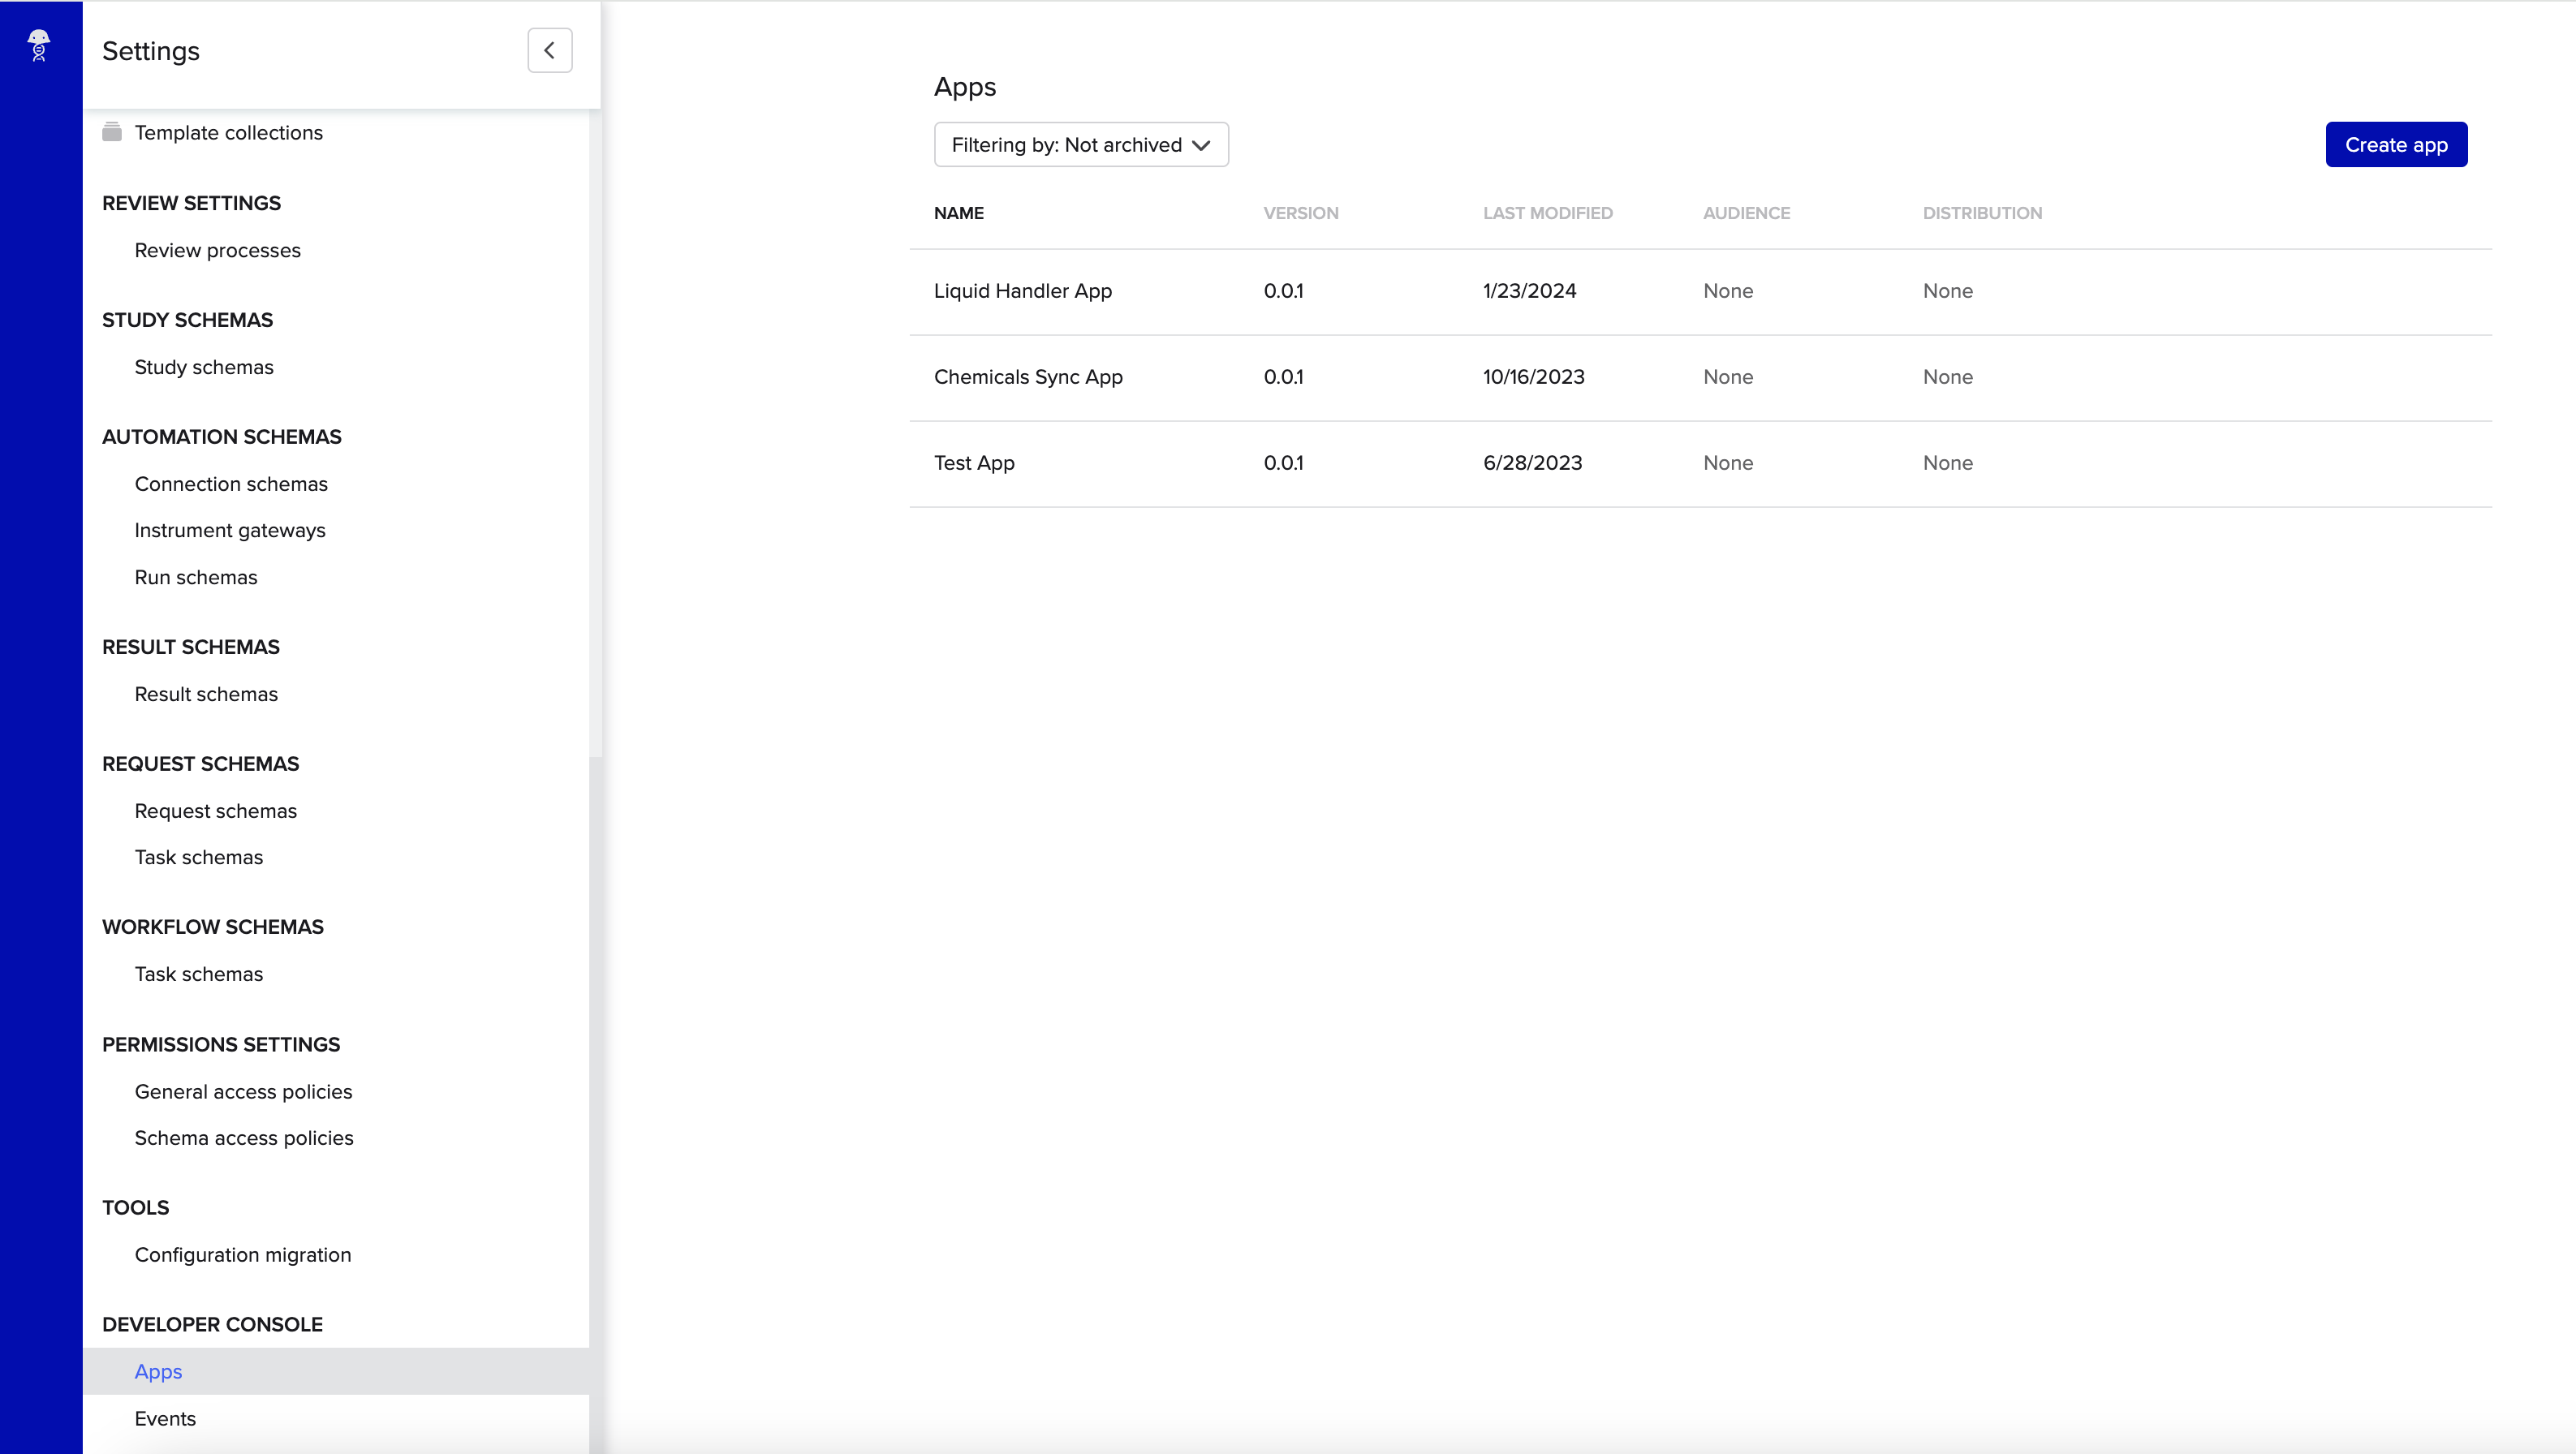
Feature Settings > Developer Console > Apps
Any of the apps listed in the Developer Console can be installed on the tenant, or be shared with another tenant.
Apps that were installed but not created on the tenant (such as a 3rd party app like Clustermarket or Quartzy) will not show up in the Developer Console.
Installed apps
Installed apps can be found in the App Workspace; in Benchling, click "Connections" on the left sidebar and then select "Apps." Each App has its own homepage where users can view information about the app. The General tab includes information about the app, while the Access tab is where admins of the app can control the app’s access to data in Benchling.
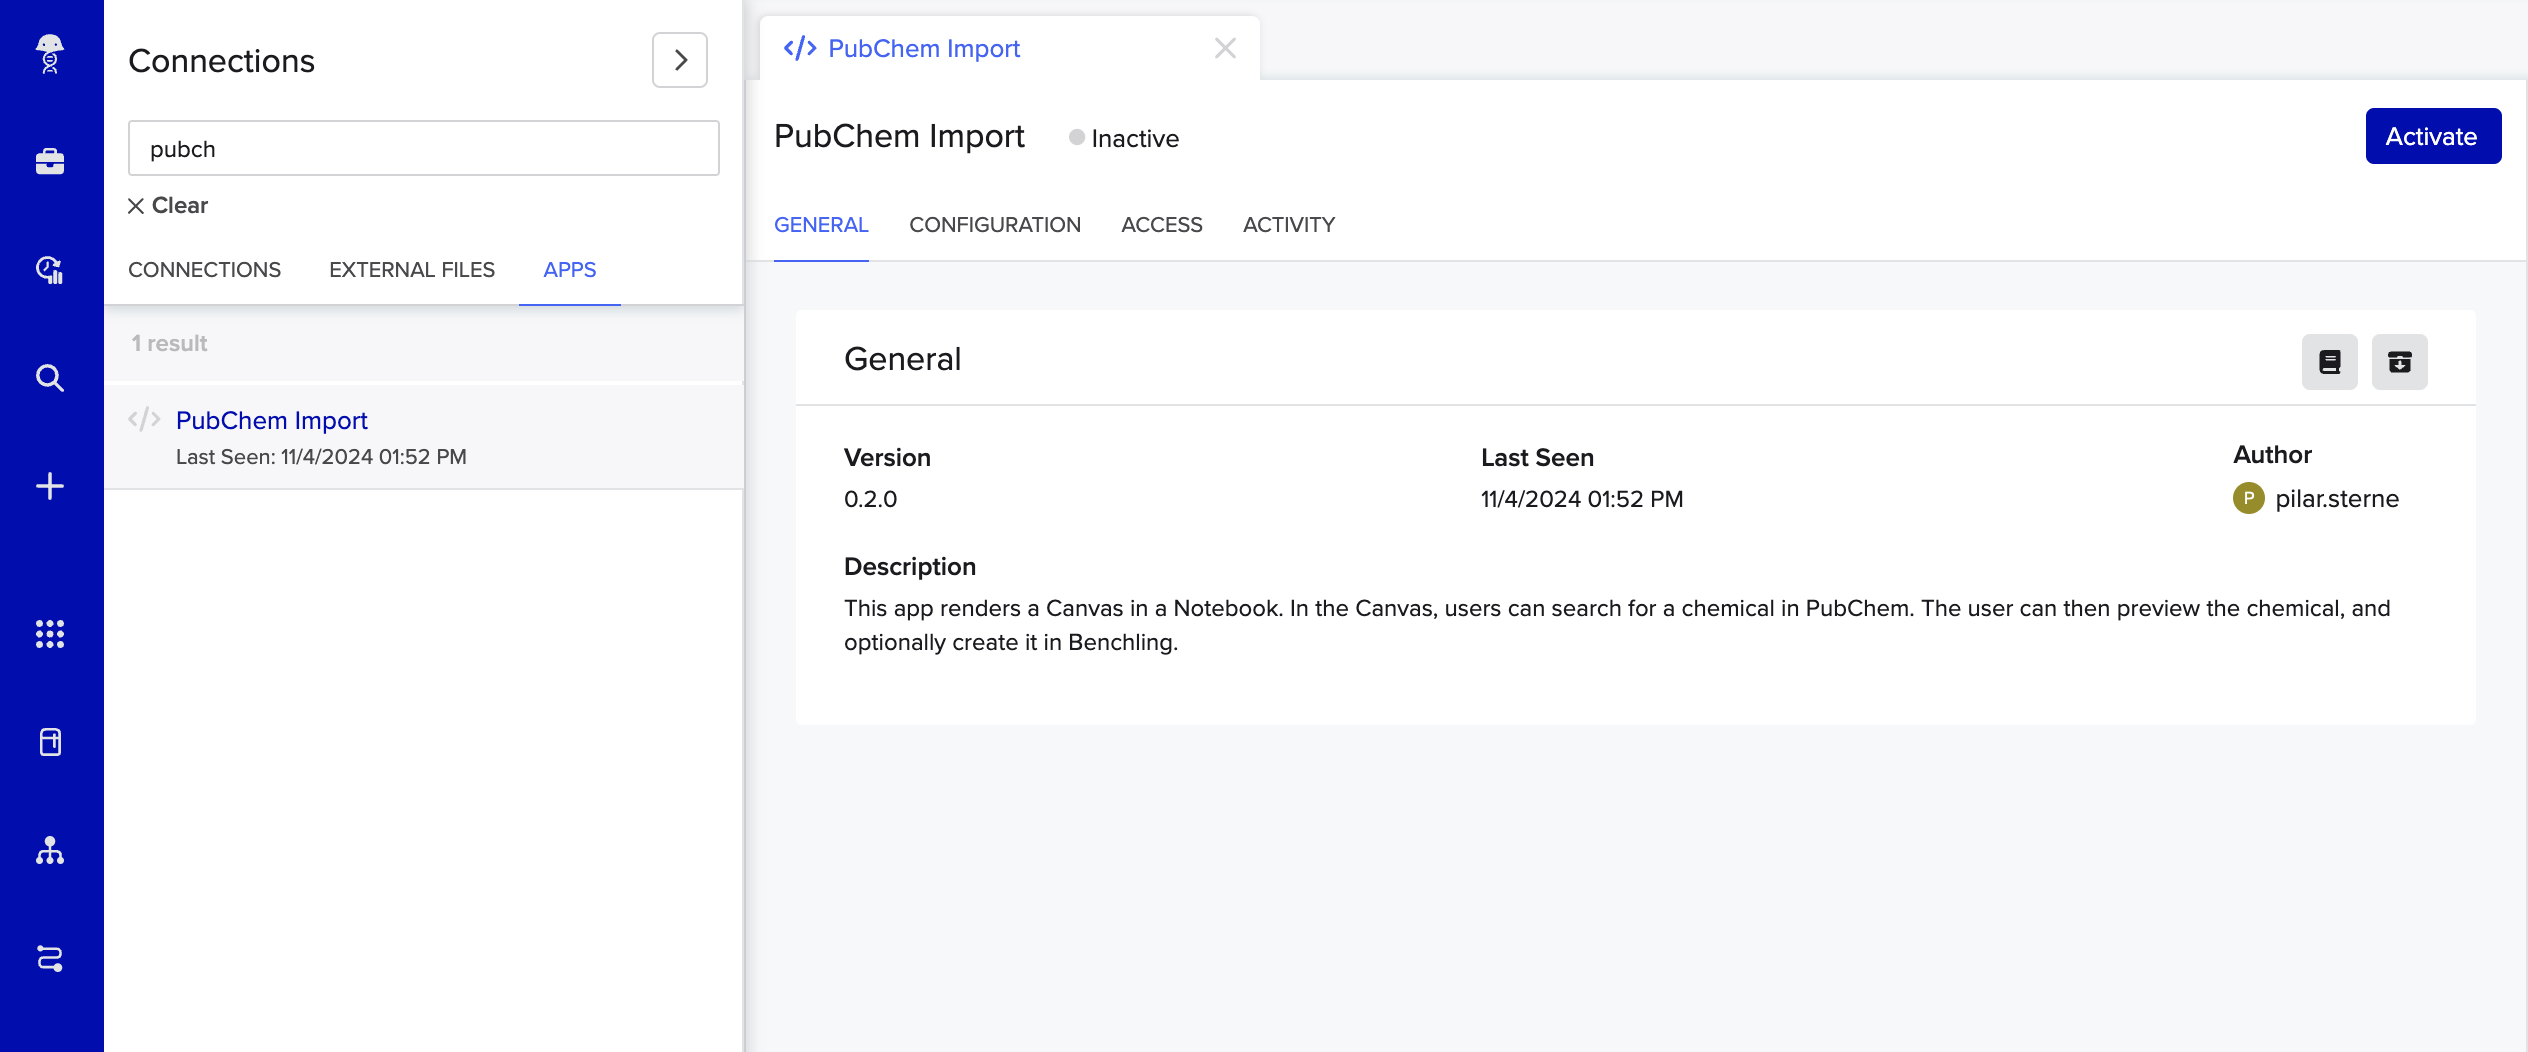
A Benchling App installed on a tenant
Creating an app
Creating an app can be done from the Developer Console. There are a variety of ways to get to this page, but the easiest is to navigate through your user menu > Feature Settings > Developer console > Apps (pictured below).

Accessing the Developer Console
That takes you to the “Developer Console” section of the feature settings page, and opens the “Apps” settings. Clicking the "Create" button opens a modal with two options for creating your app: from scratch or from a manifest file.
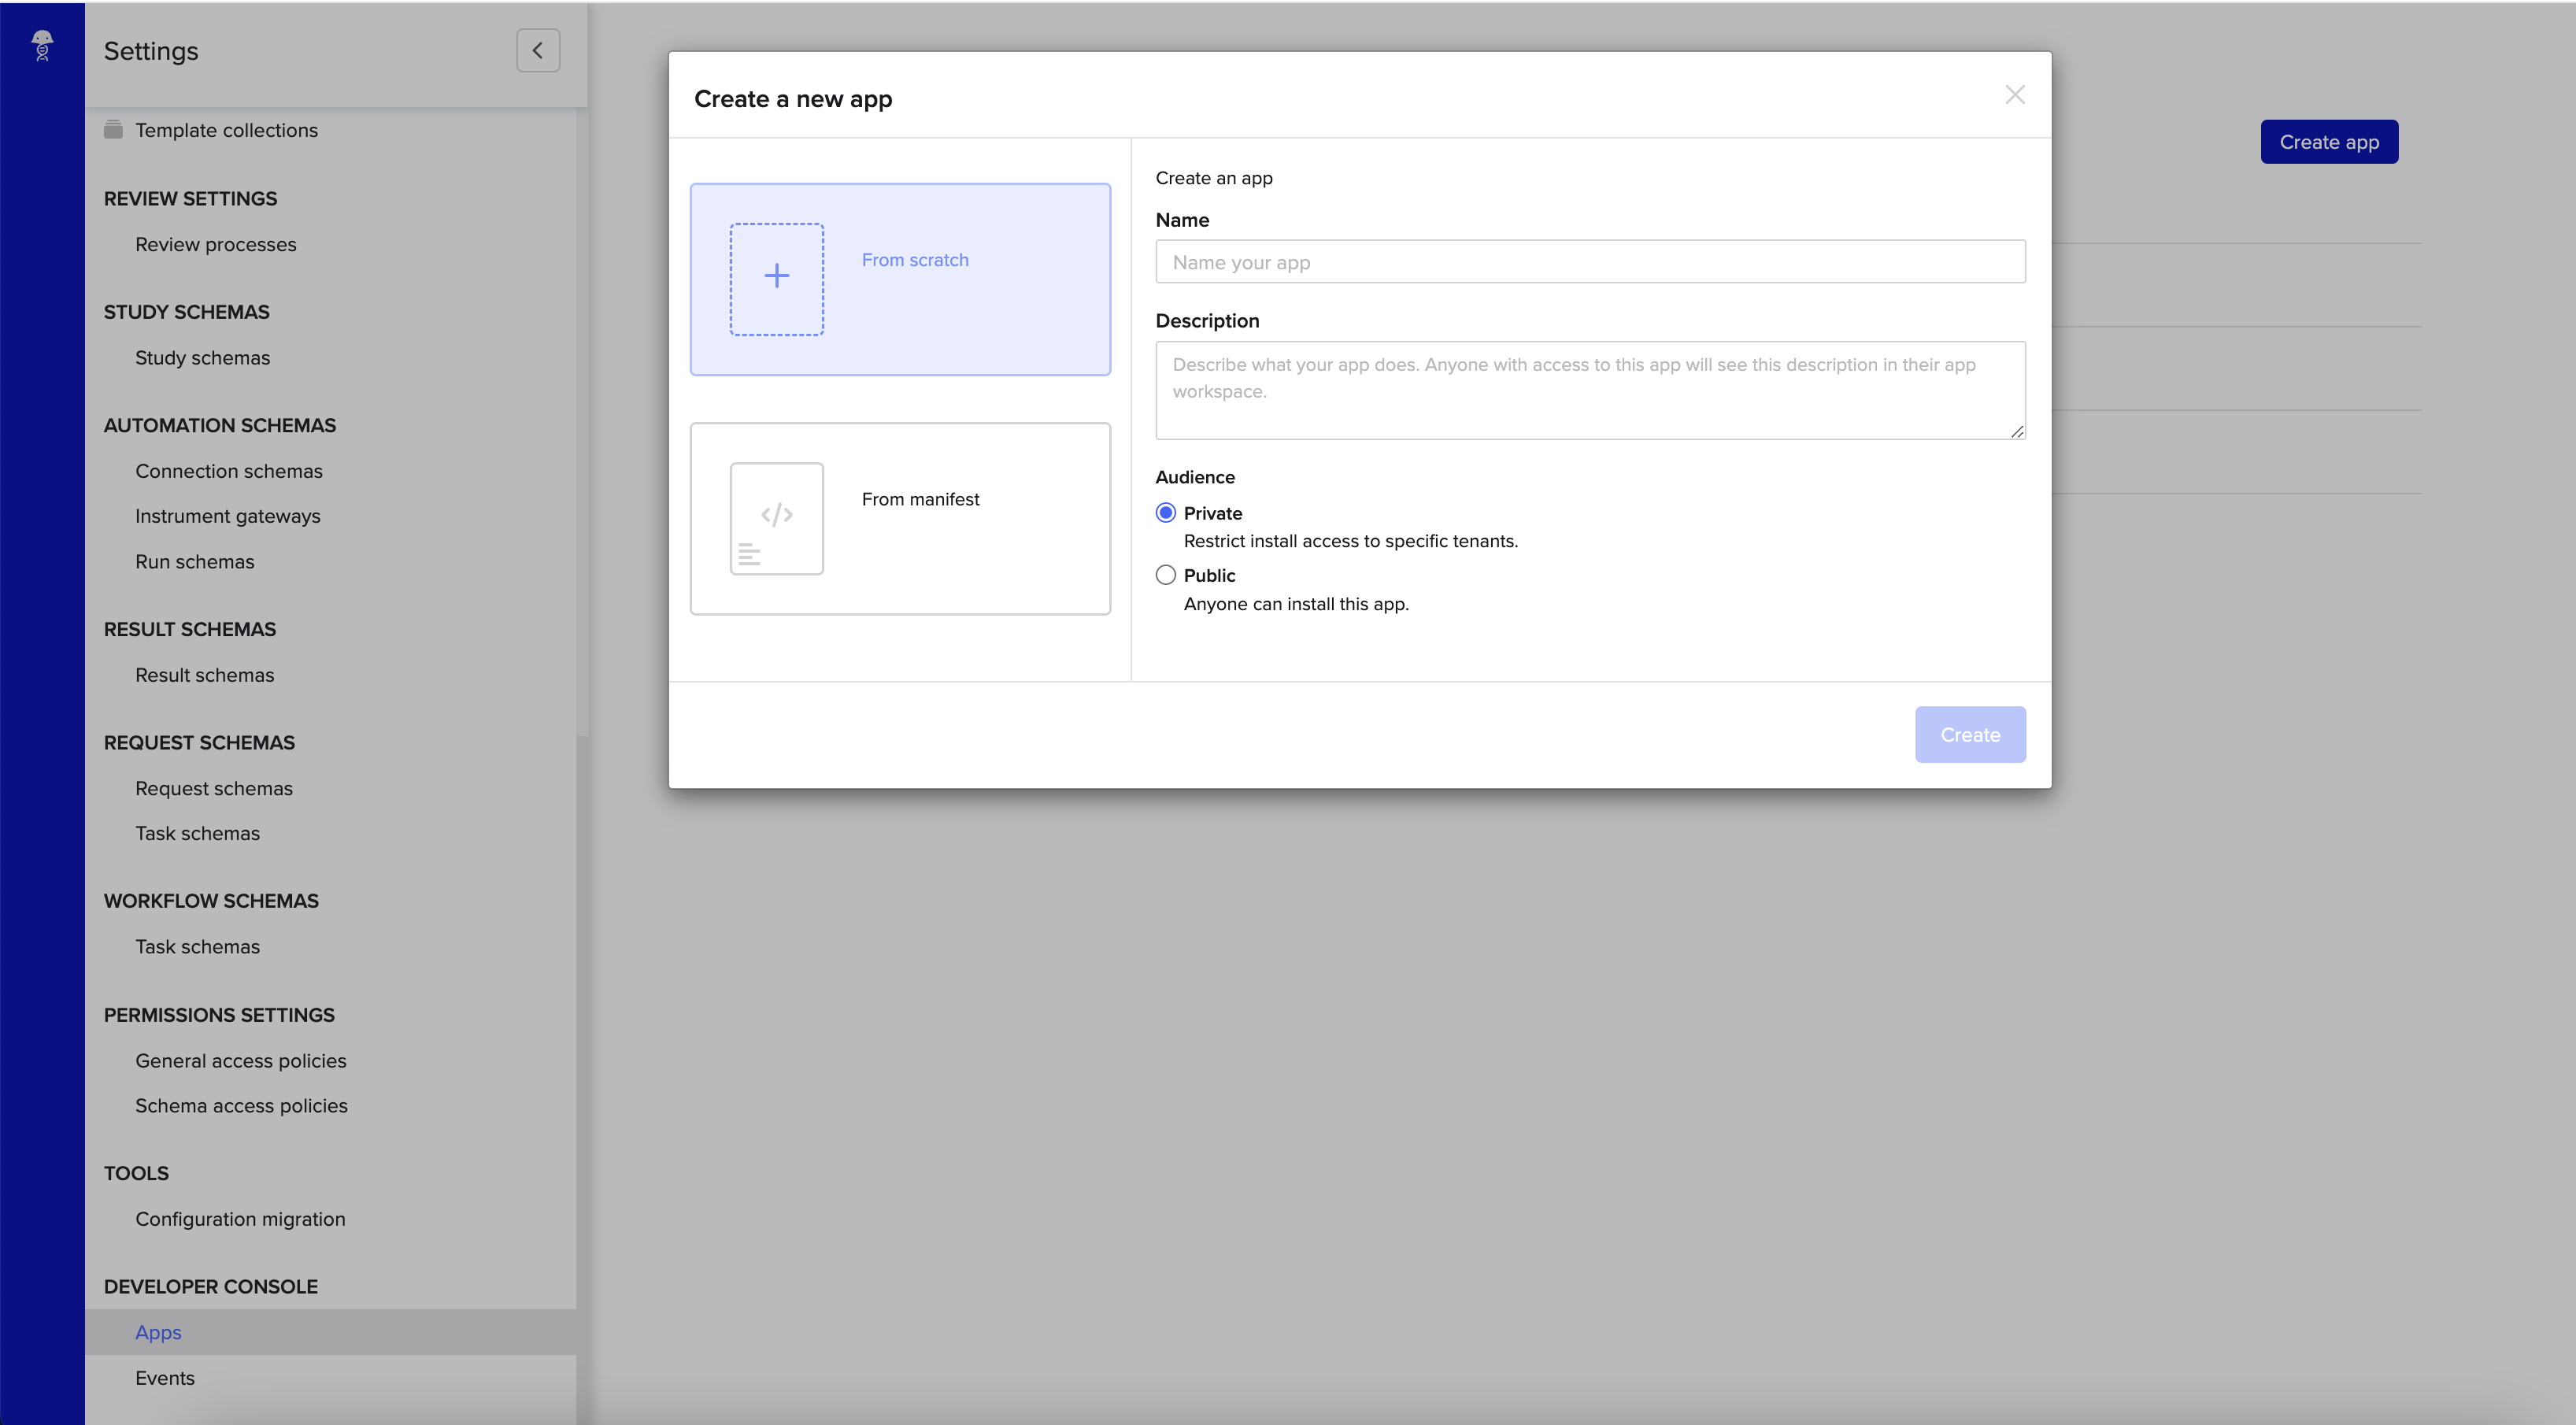
"Create App" modal
You can also specify the intended audience for your app. When creating an app for your own tenant(s), select "Private". If the app should be installable by others, select "Public". Please note that selecting "Public" does not publish the app itself but it does give you additional options for distributing your app later on in the app managing experience.
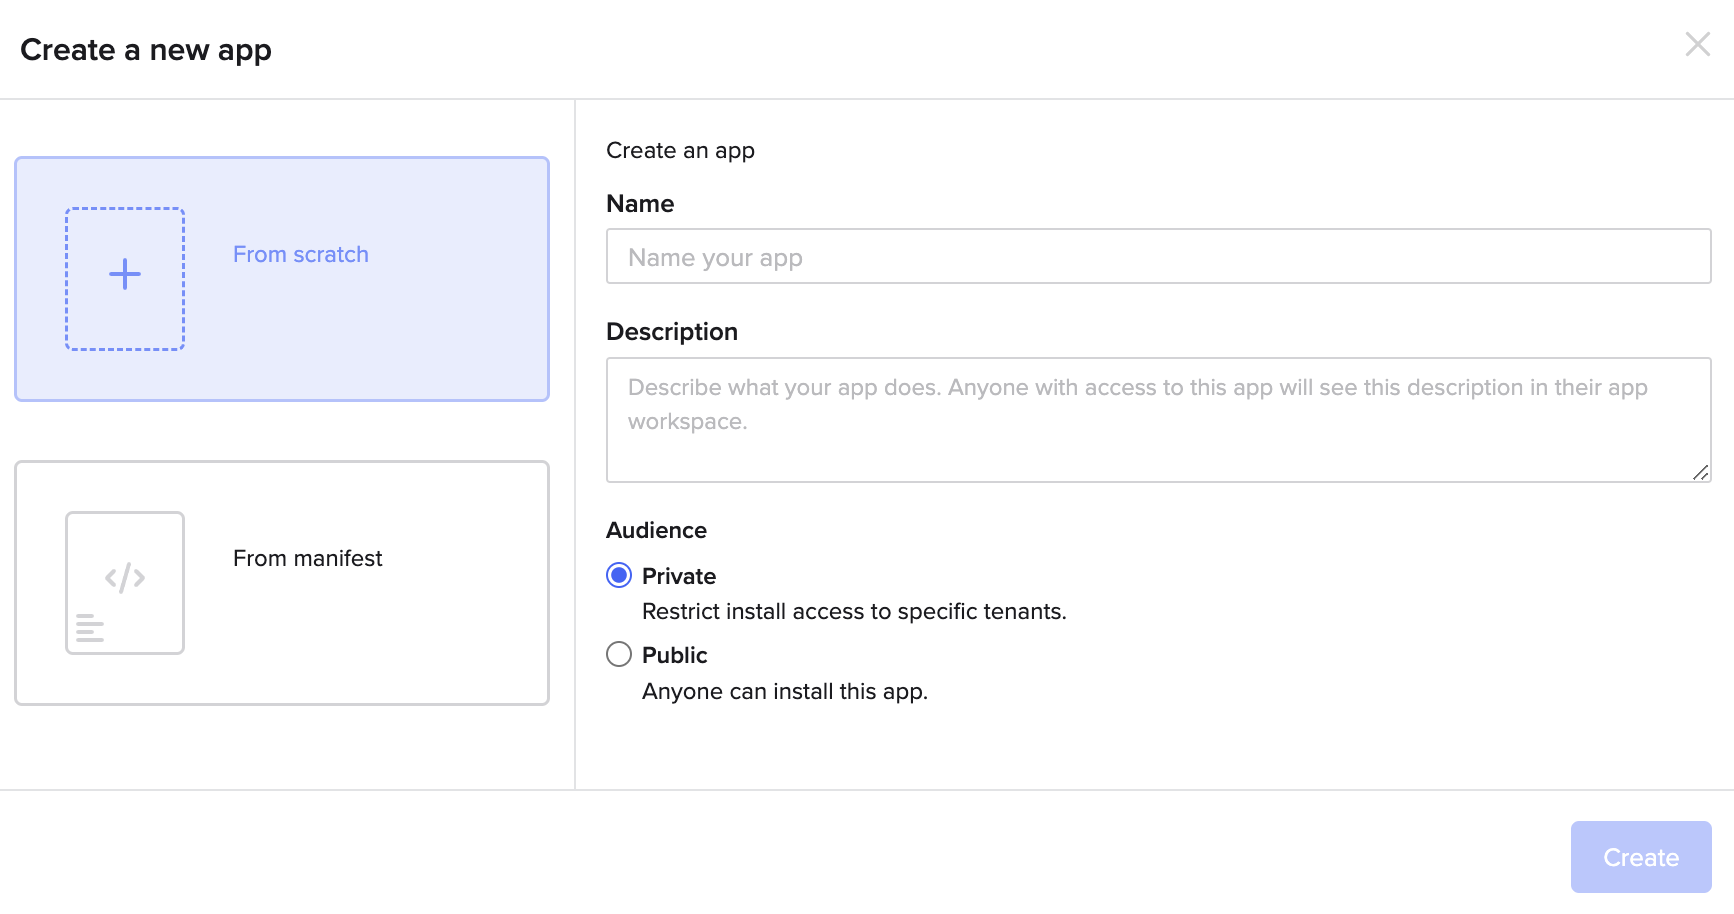
Creating an app from scratch
Selecting "From scratch" allows you to create a Benchling App directly, without defining an app manifest; just provide an app name and a brief description and click "Create":
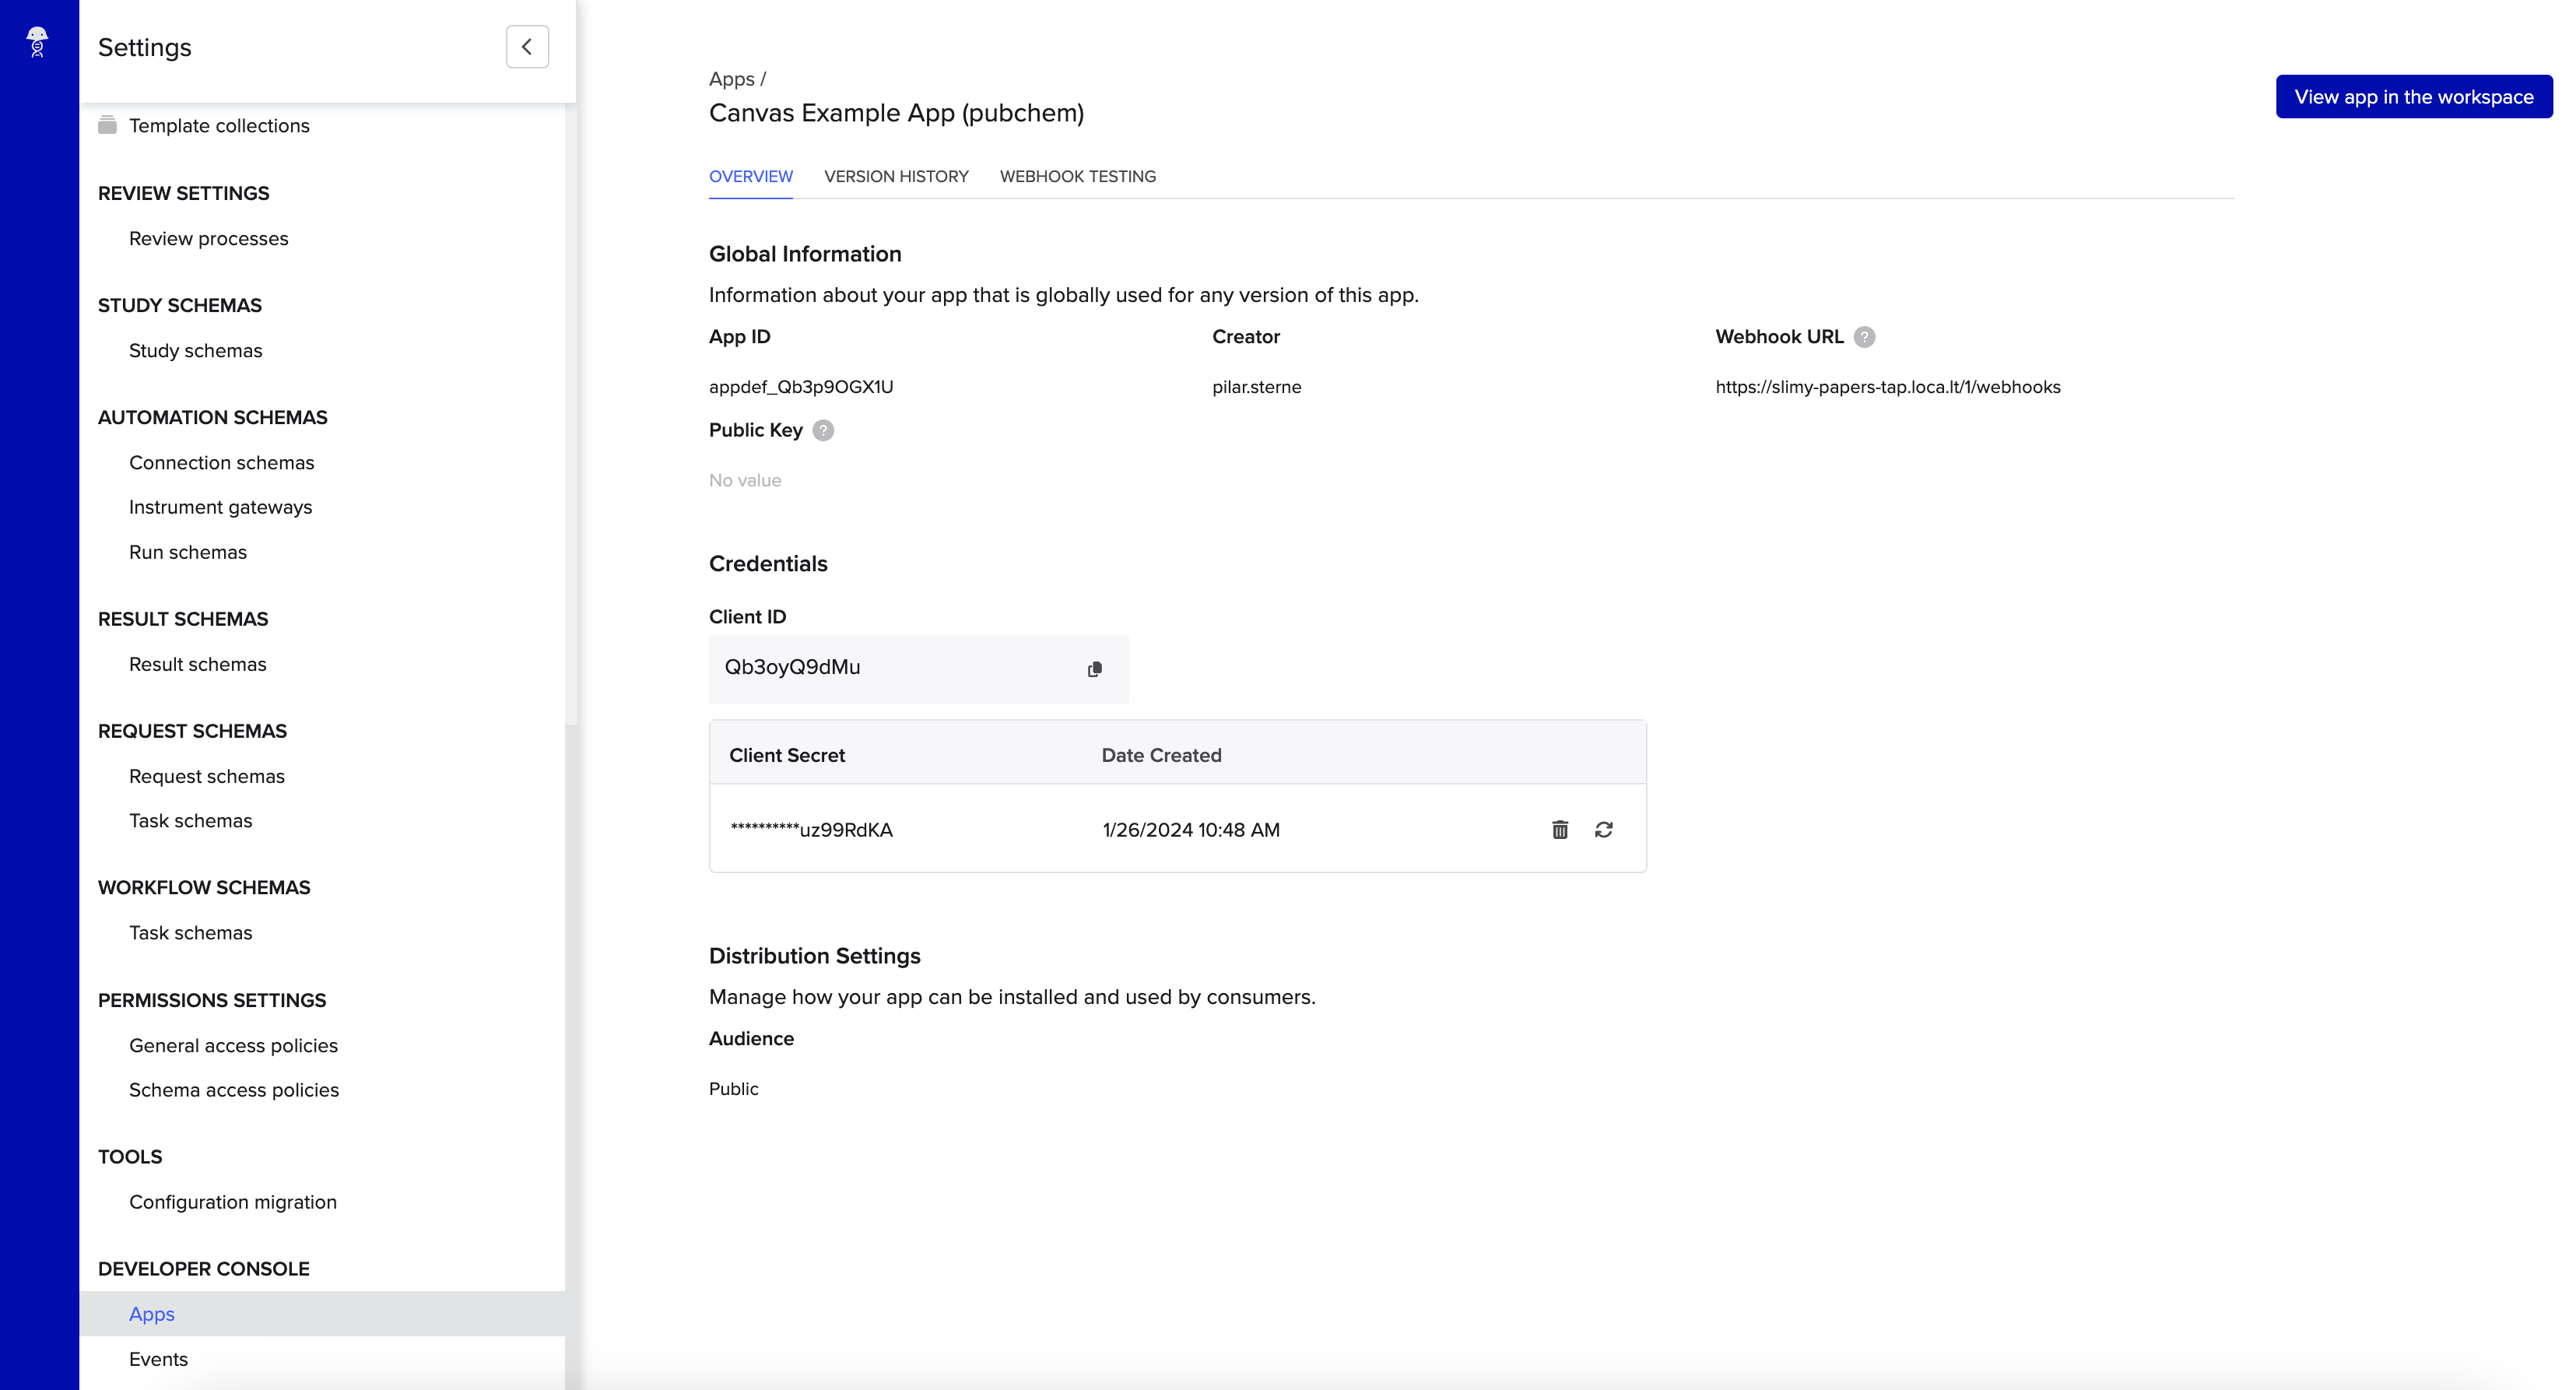
Once your app is created, you’ll be taken to the app’s settings page, where you can retrieve the app’s credentials (or delete them).
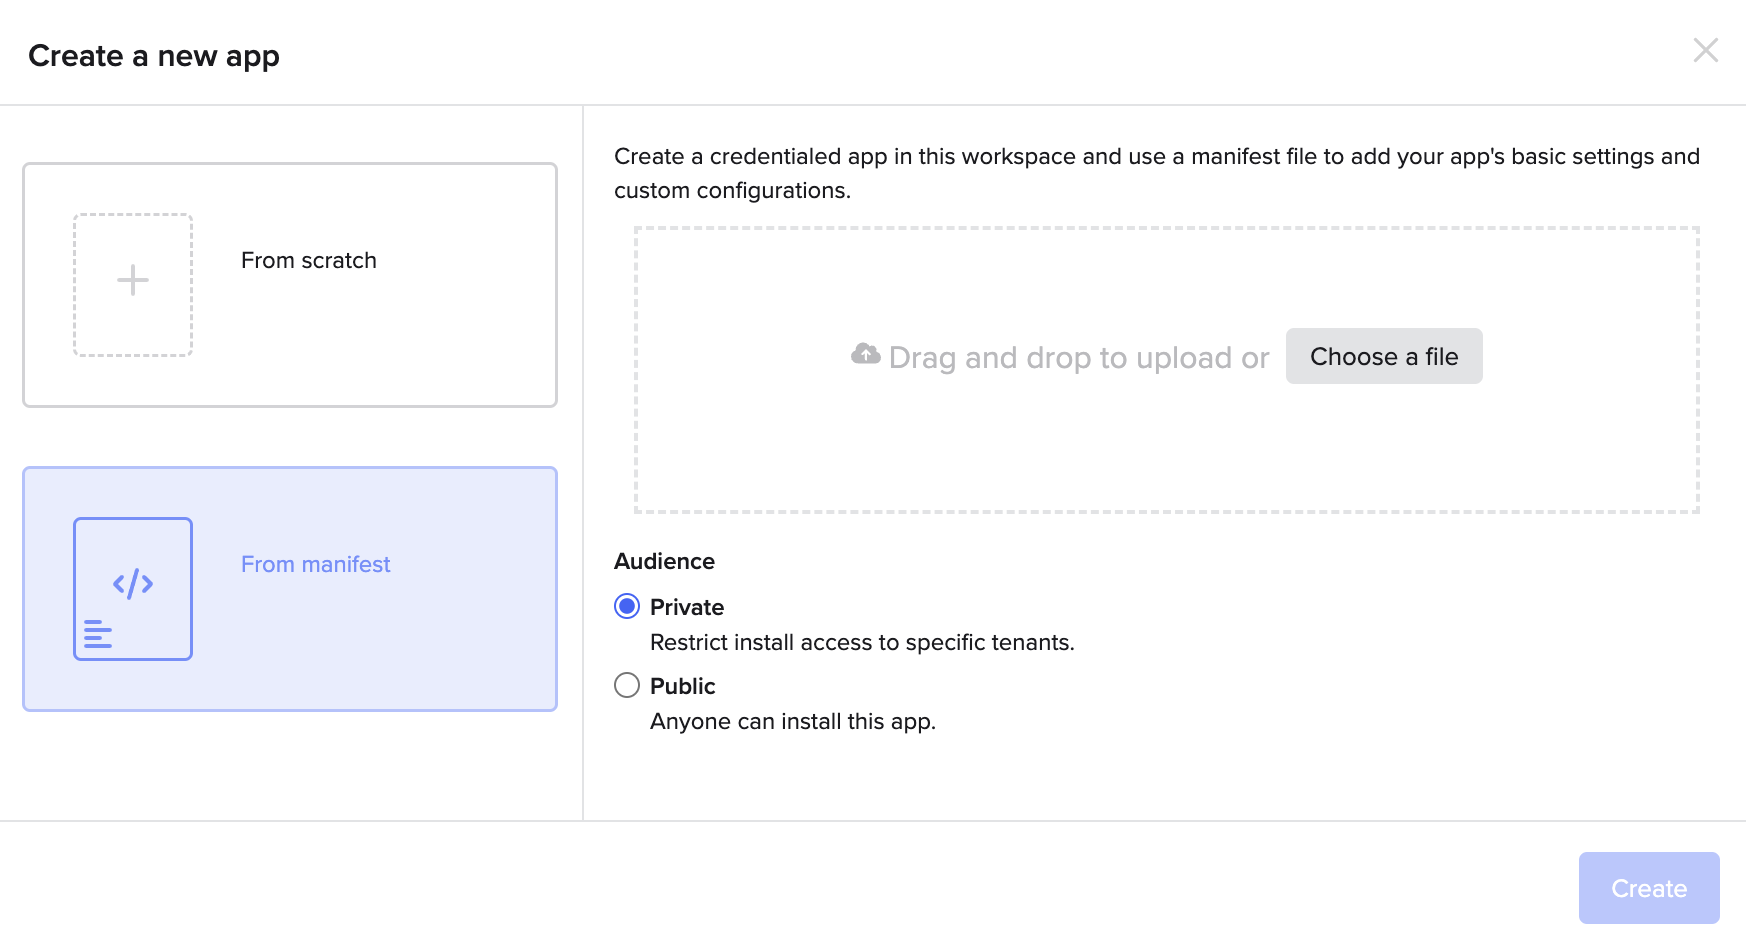
Creating an app from a manifest
Selecting "From manifest" allows you to create a Benchling App using a manifest file. App manifests are the tenant-independent definition of an app, including all of the app's metadata and configuration details. Check out our App Manifest Reference for more details.
Clicking "From manifest" opens a prompt to upload a manifest file
When a manifest file is uploaded, a Benchling app is automatically generated from the manifest file and you'll be brought to the app's settings page.
Installing your app
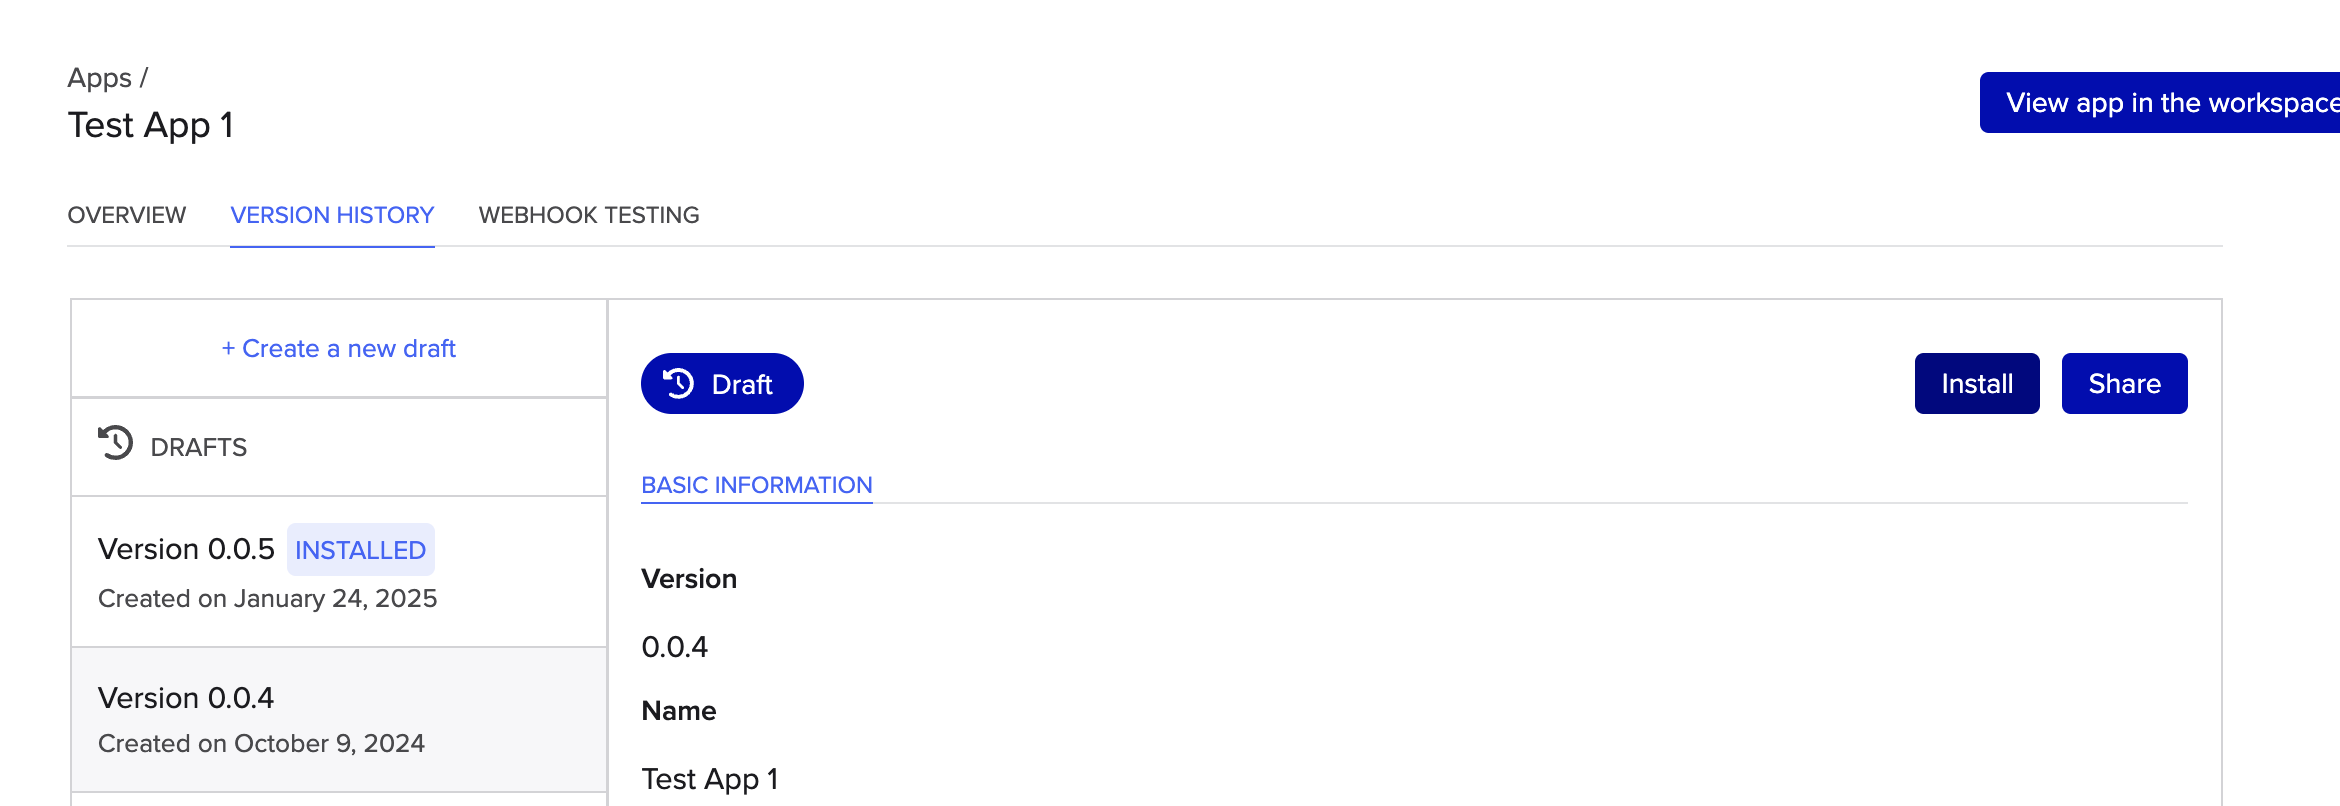
In order for the app to be able to make API calls, you will need to install at least one version of the app using the "Install" link in your Version History tab:
Granting an app access
By default, newly created apps cannot access any data. To give it access to data on your Benchling tenant, you (or the relevant admin) need to add the app as a collaborator to any resource it should be able to access. This works exactly the same as setting permissions for a user.
When giving an app access, make sure to keep in the mind the principle of least privilege and give the app the minimum necessary access to accomplish the desired task.
Authenticating as any userApps currently can only act as themselves. If you want to access the APIs as any user on the tenant (including reflecting their permissions) you’ll need to set up OIDC. See our Authentication page for more details.
Adding an app to an organization
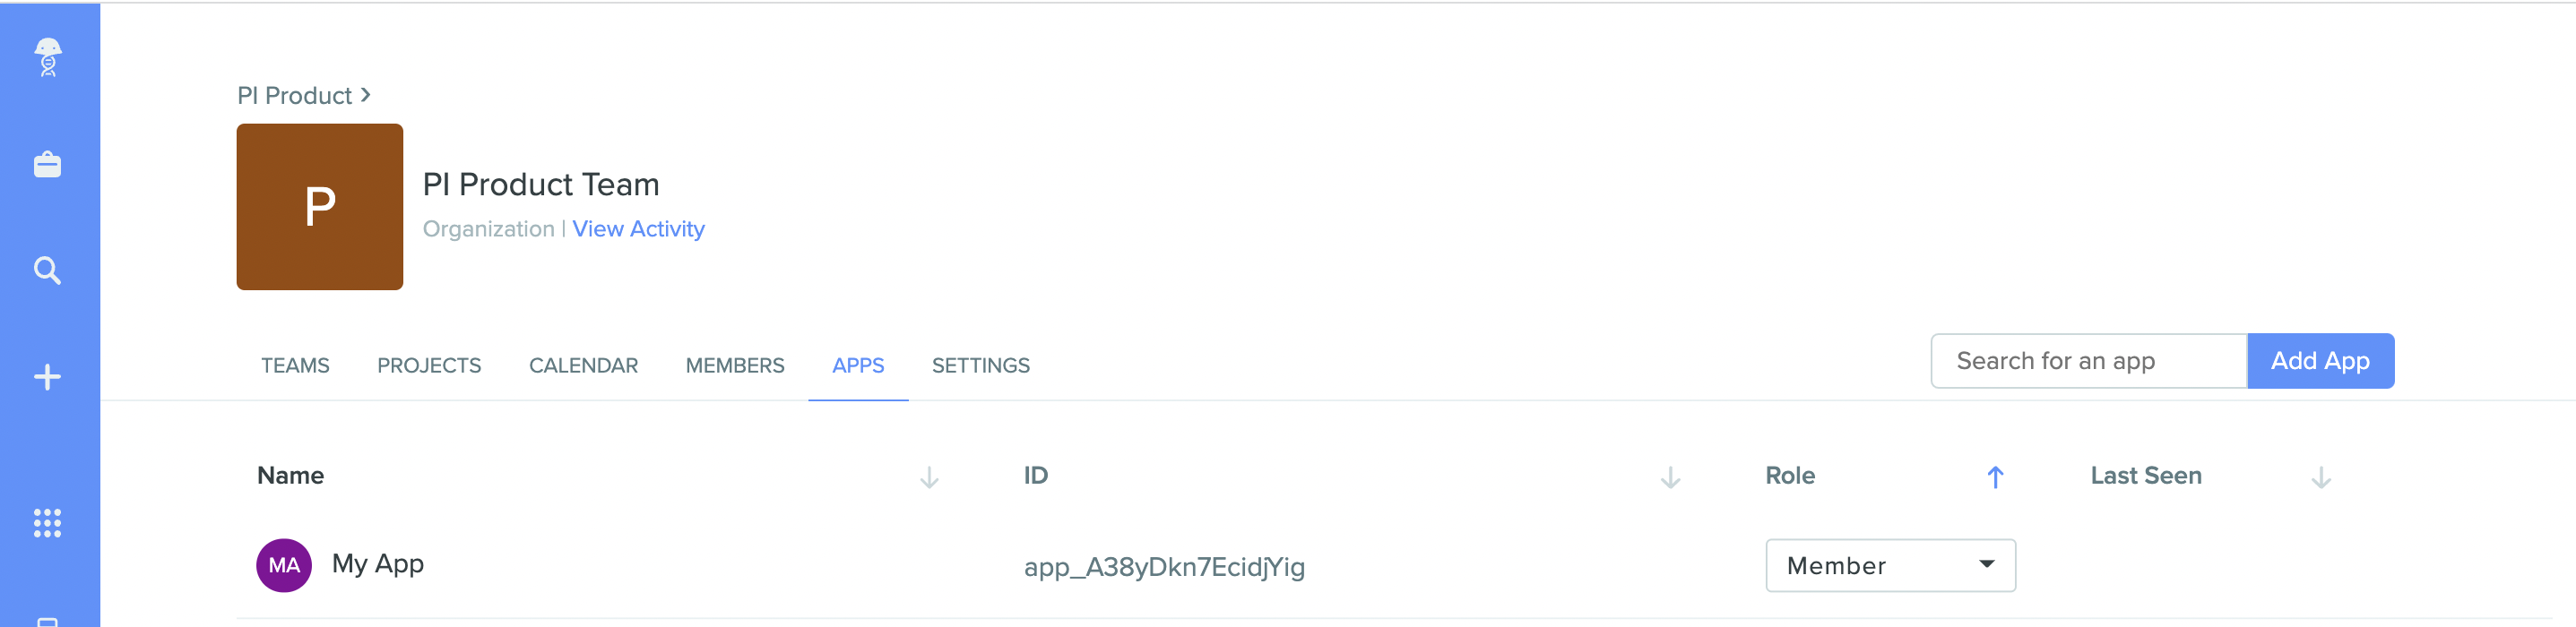
Adding an app to an organization will allow the app to access any projects that are accessible to all members of the organization. Org admins can add apps in the organization page in the “APPS” tab:
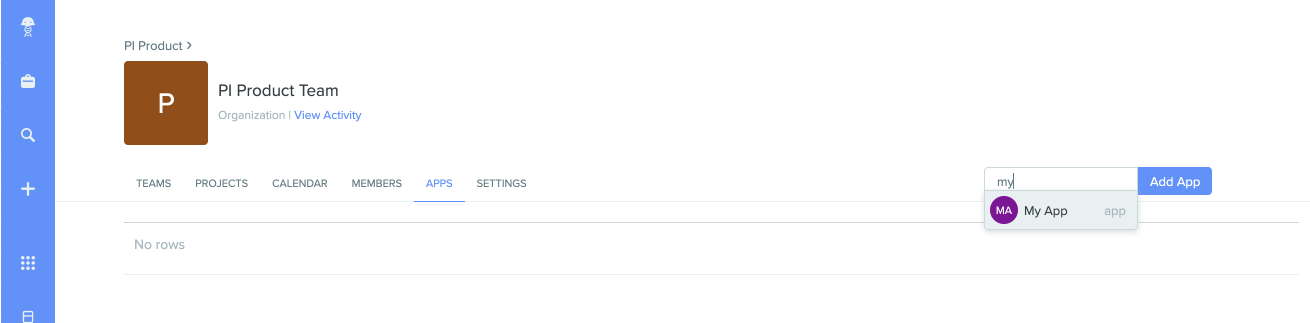
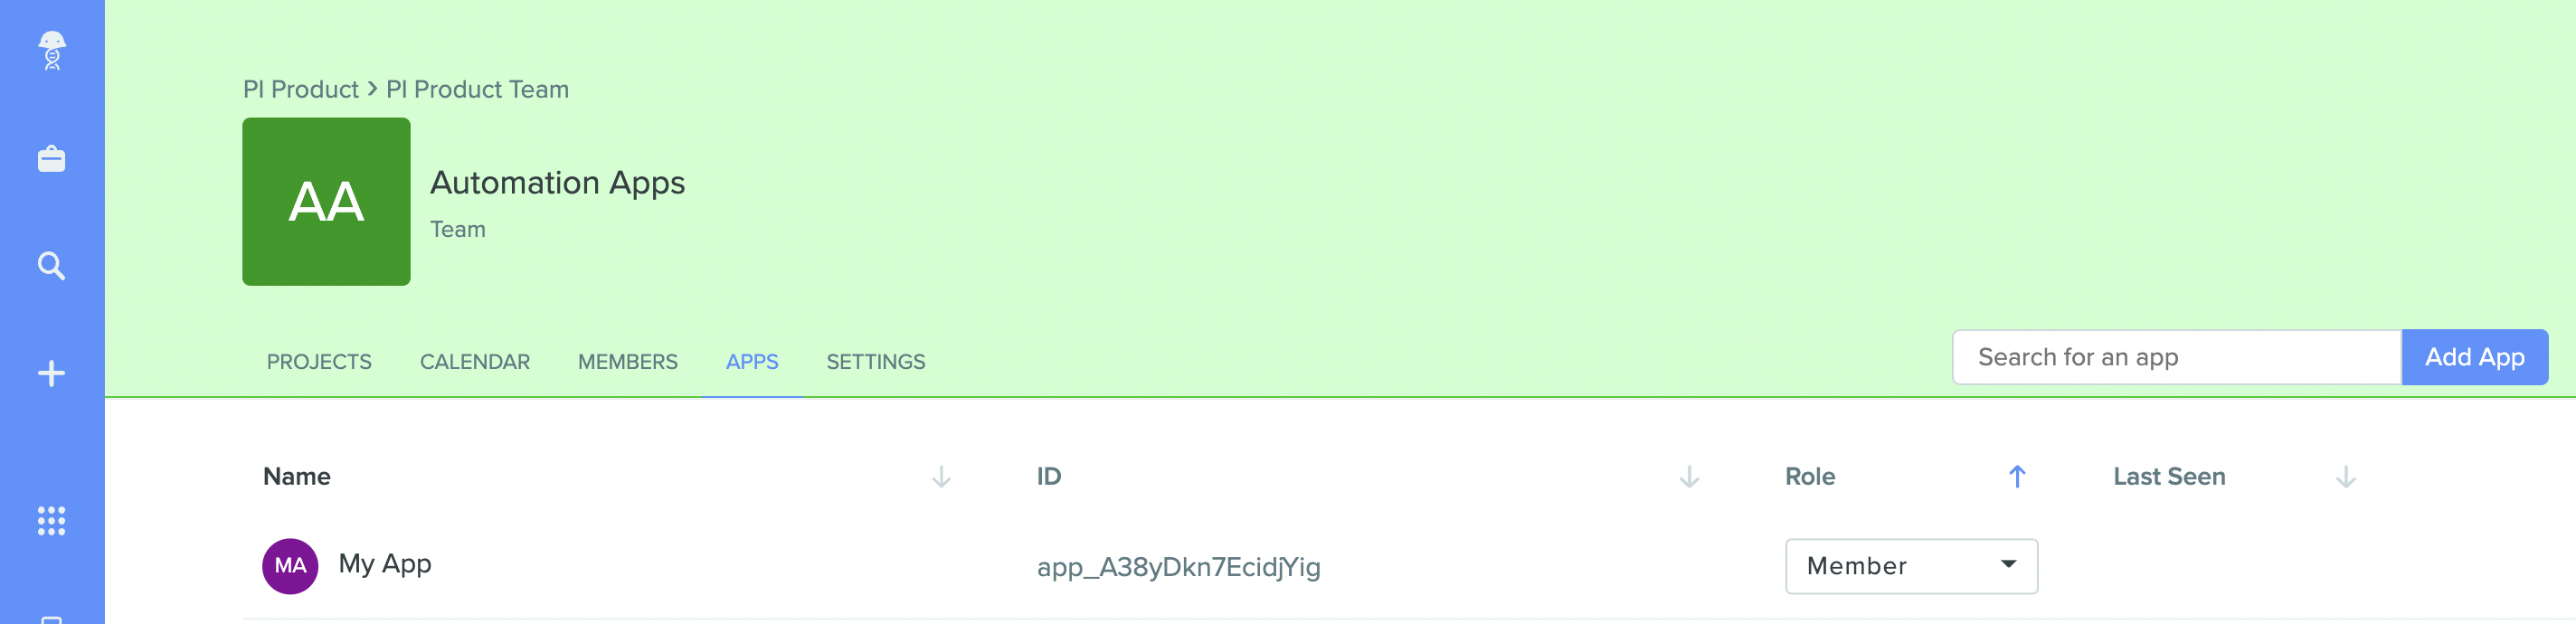
Once added, it will appear in the “APPS” tab for that organization:
Adding an app to a team
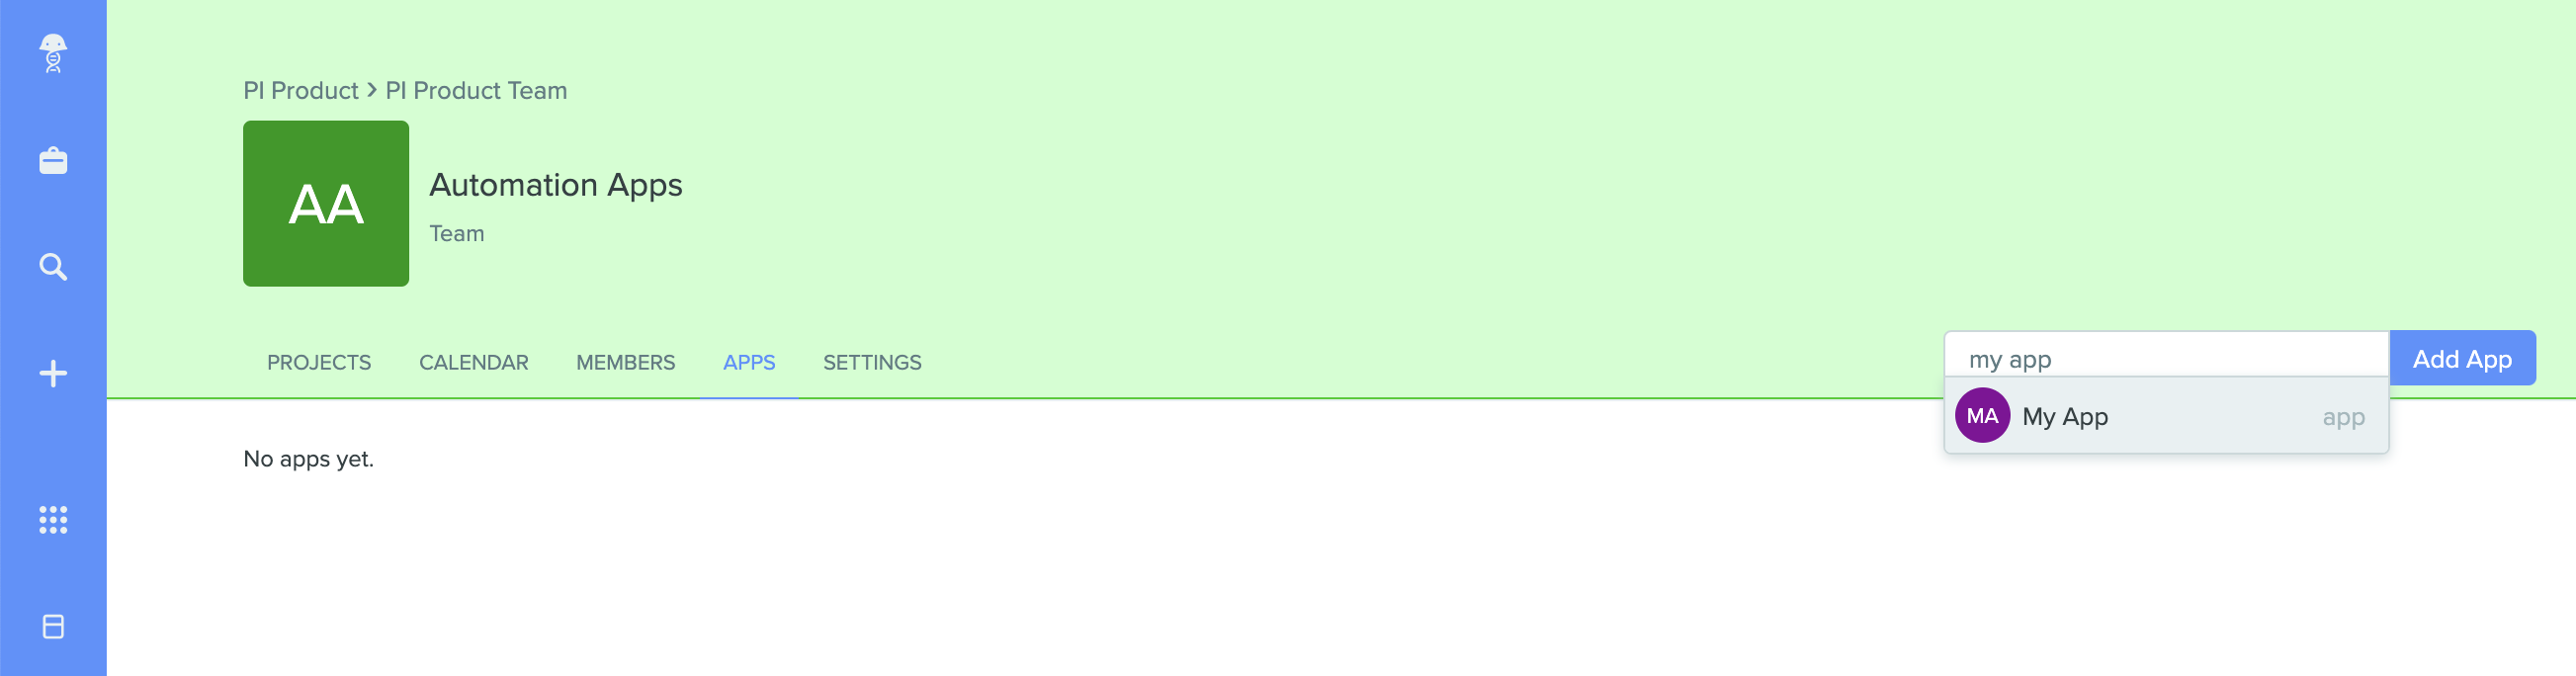
Apps can also be added to teams, which will similarly give that app access to the projects team members have access to. This can be useful when managing several apps together (“Automation Apps”), or for apps that are specific to a certain team (“Developer Team”):
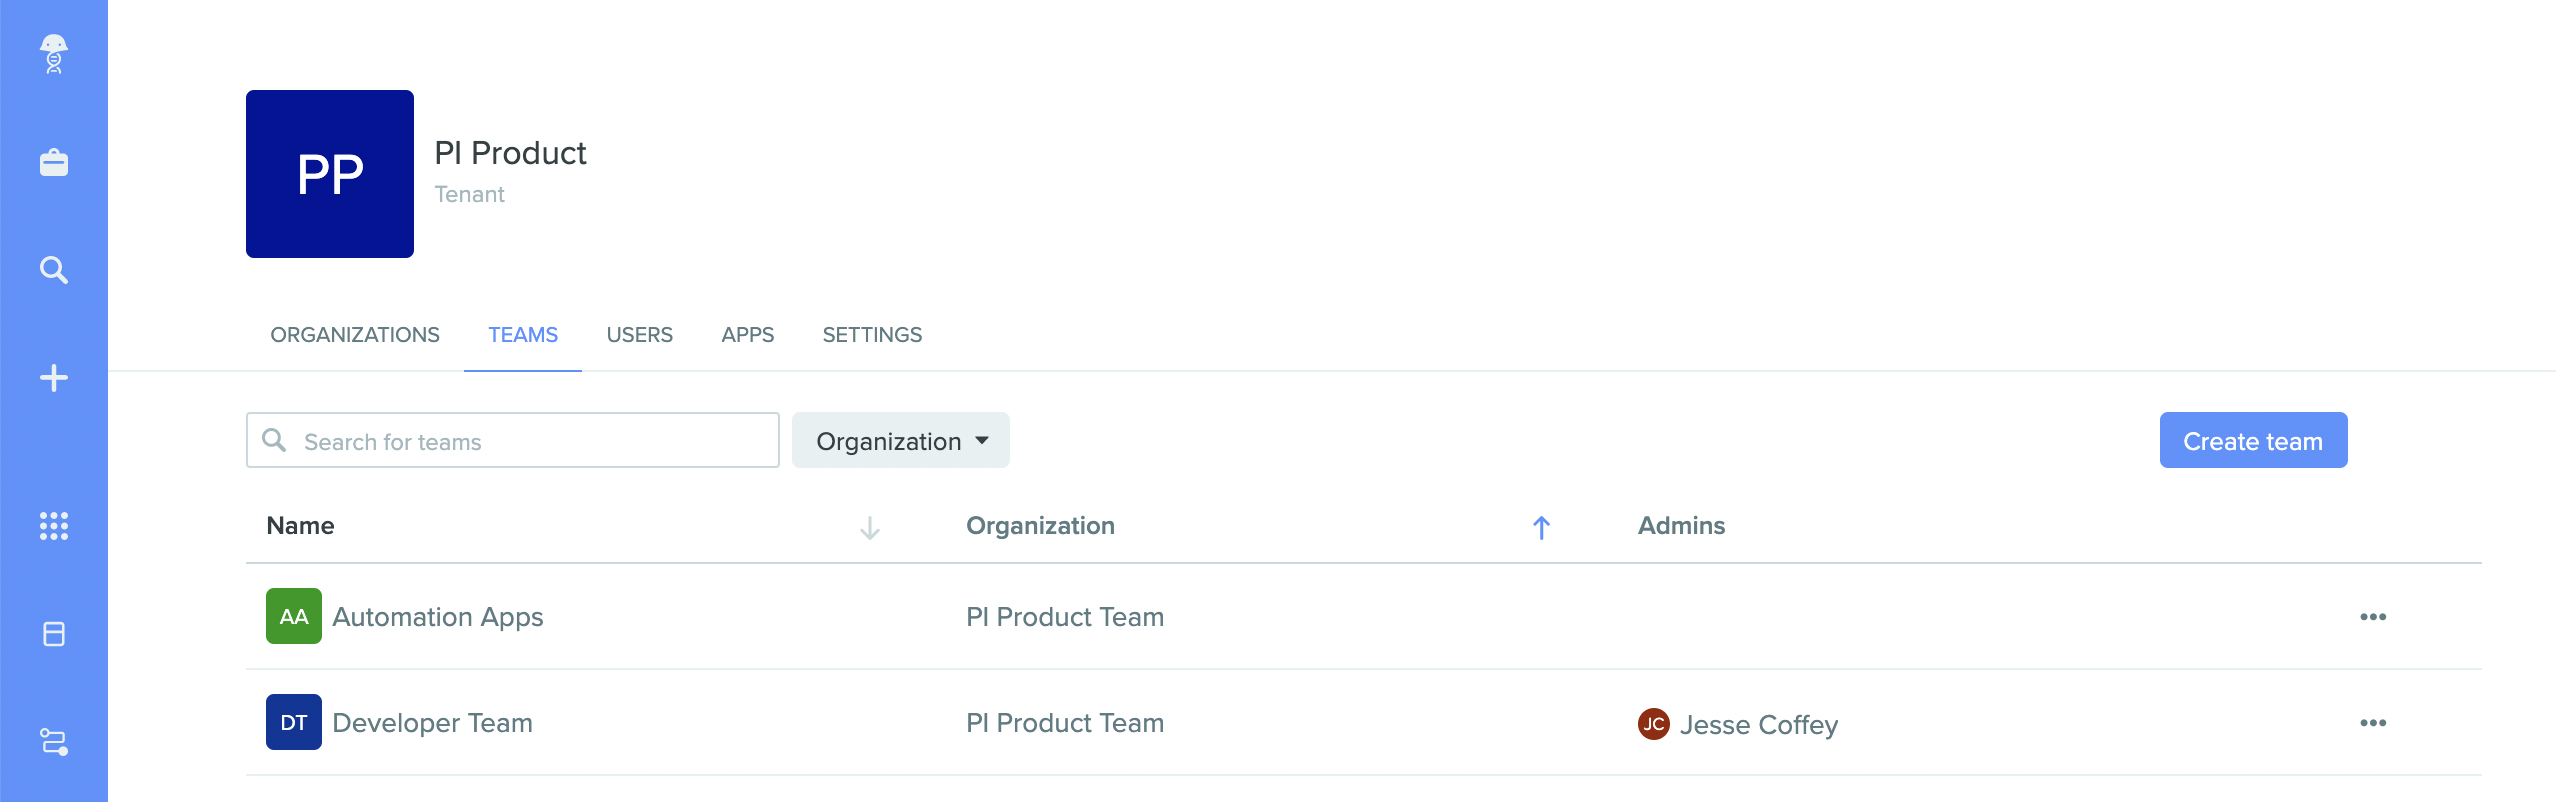
For instance, I might want several apps to be granted access together under “Automation Apps”, which might be a collection of apps used to automate interactions with systems throughout your organization that all need similar levels of access to projects and data.
Adding the app to the team is similar to adding an app to the org. Search for the app you want to add in the “APPS” tab, and then it will appear in the list of apps on that team. You can similarly remove it from this menu.
Adding apps to projects
Finally, apps must be added to projects with an access policy to actually access the data within. They can be added to projects in the same ways as users, by:
- Adding the organization the app is a member of.
- Adding the team the app is a member of.
- Adding the app directly.
Not an Admin?If you were unable to add an app to an org or team (for instance, if you are not a tenant, org, or team admin), you can always create an individual project and add your app to it to try it out!
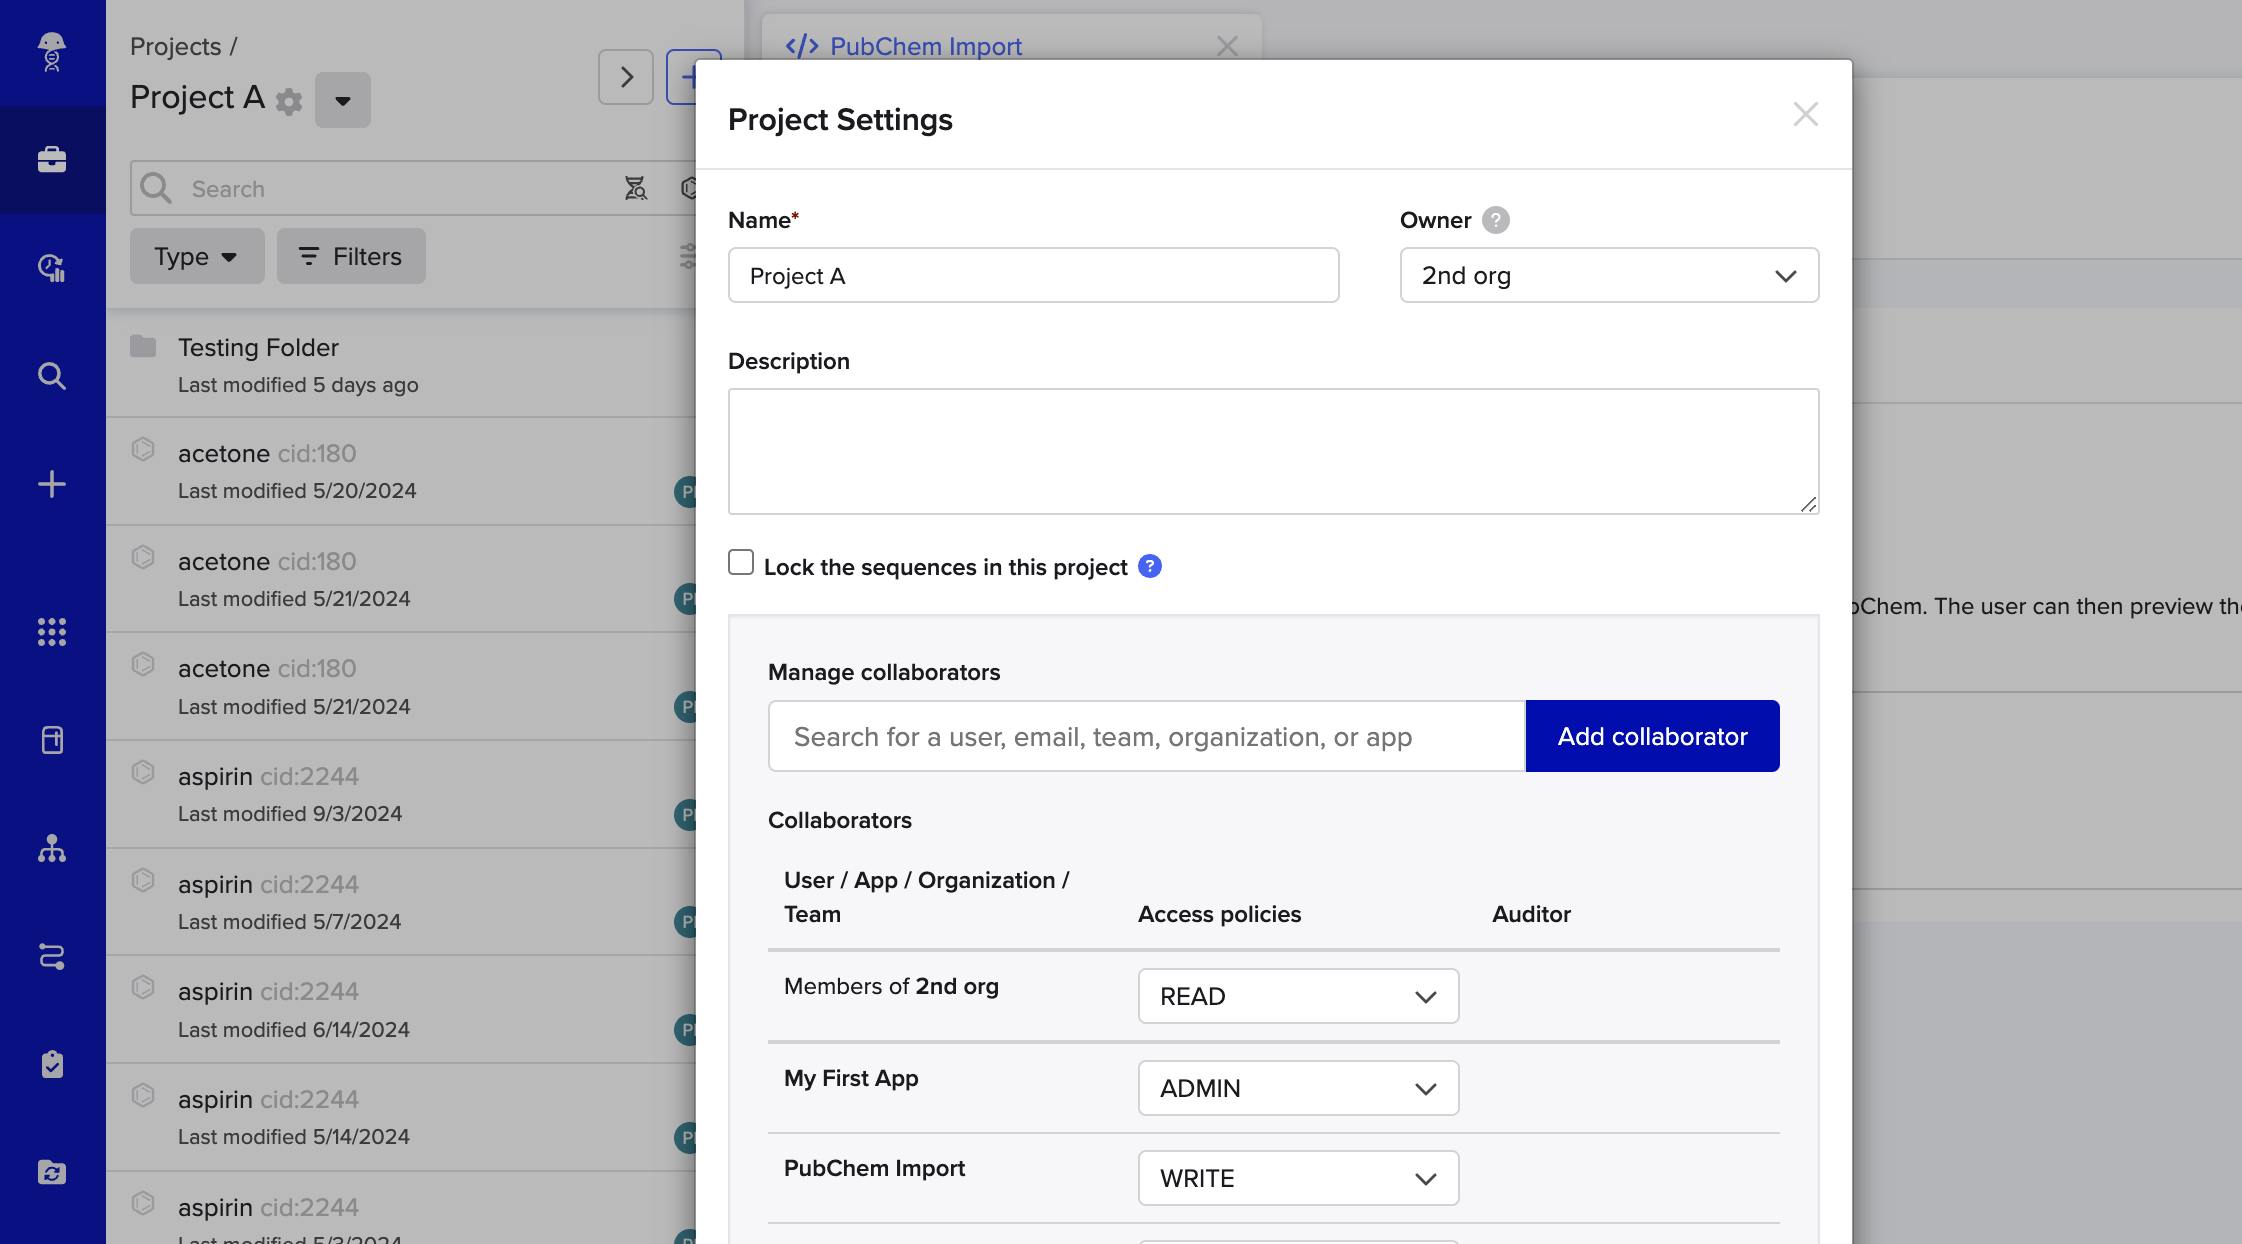
You can add the org, team, or app itself to projects in the “Manage collaborators” section of the project creation menu and the project settings menu.
What happens if an app doesn’t have access?
If you’re ever getting errors (such as 403 - Forbidden or 404 - Not Found) while interacting with APIs via the app, make sure that the app has access to the relevant project whose object(s) the app is attempting to interact with. As a reminder, an app can carry permissions established at the app, team, or organization level within any given project.
Calling the API as an app
Now that your app has been created and has the access it needs, let’s try calling the API with the app’s credentials! To do this, you must use the OAuth Bearer token flow for apps.
Getting Credentials
First, navigate to your app’s settings page to retrieve the client ID:
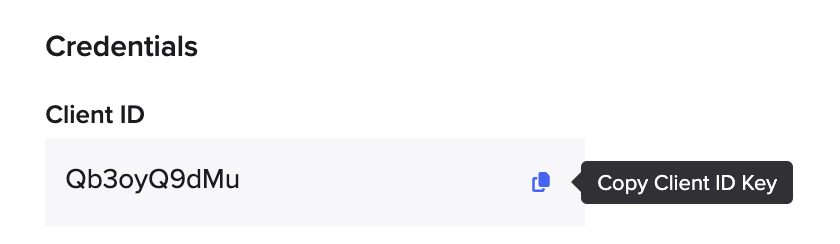
This ID will not change, and is only an identifier, not a password.
Next, you must retrieve the client secret from the same page:
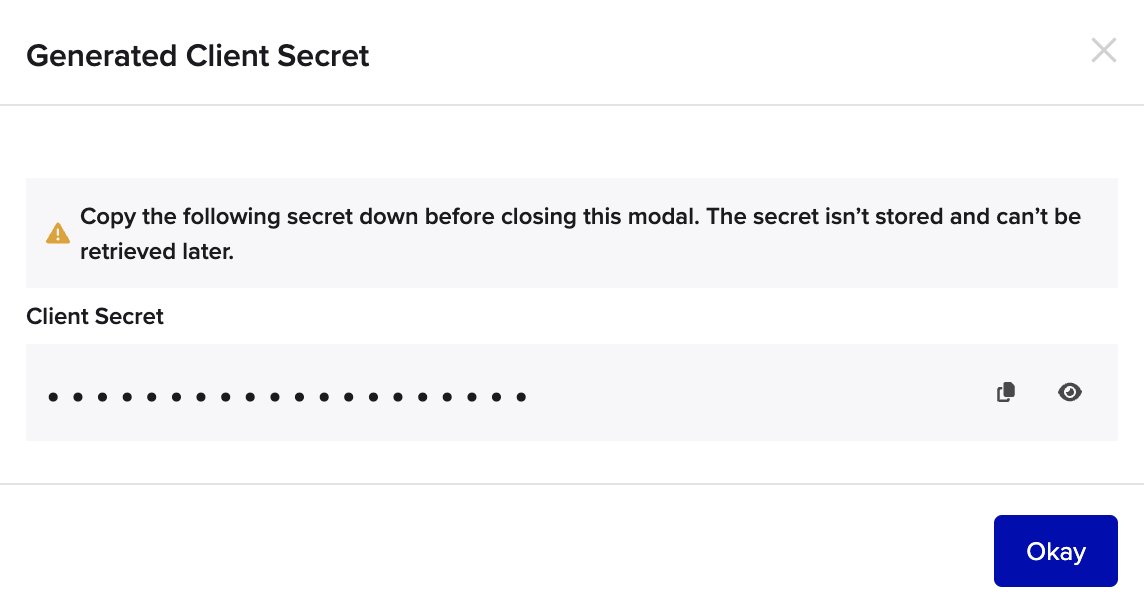
As the prompt states when generating the secret, you can only see it once. If you lose your secret, you’ll need to generate a new one, which will delete the existing secret.
Getting a Bearer Token
Now that you have your client ID and client secret, you can use it to call the API to retrieve a Bearer token, allowing you to call the other API endpoints as your app. To do that, you must first call the /token endpoint. Calling this in cURL looks like:
curl -X POST "https://{tenant_name}.benchling.com/api/v2/token" \
    -H  "accept: application/json" \
    -H  "Content-Type: application/x-www-form-urlencoded" \
    -d "client_id={insert_id}&client_secret={insert_secret}&grant_type=client_credentials"
This will return a response that has access_token (what you need), expires_in time in seconds, and token_type:
{
  "access_token": "eyJ0eXAiOiJKV1QiLCJhbGciOiJFUzUxMiIsImJuY2giOjF9.eyJzdWIiOiJlbnRfRHJvNEVmZHAiLCJleHAiOjE2MzU0MzkyNDYsImF1ZCI6ImJpb3RlY2h0eC5iZW5jaGxpbmcuY29tIiwiaXNzIjoiYmlvdGVjaHR4LmJlbmNobGluZy5jb20ifQ.ATvA9-7aB61PJGlhR5j3cBGlV6szmnJsAJR7HPAsg-EuLffwbwSMPIEO-FJphXB44O3nRQXOL3z0zUZQYr5glx_eAZjCfqa8tnxCxH496tiI9jNba6KH4ikU5v3D8Ce1-p6TRZNEUPAMtnyZKP-vDCRGgjeKlawKGr7iOZ92mnjvx-gd",
  "expires_in": 900,
  "token_type": "Bearer"
}
Calling the APIs with a Bearer access_token
access_tokenNow you have a token, you can call any of the other endpoints with the Bearer token header, for instance, this is the listEntries endpoint using cURL:
curl -X GET "https://{tenant_name}.benchling.com/api/v2/entries?pageSize=5&sort=modifiedAt%3Adesc" \
    -H  "accept: application/json" \
    -H "Authorization: Bearer {access_token}"
Using the SDK
Benchling’s Python SDK will handle Getting a Bearer Token and Calling the APIs with a Bearer access_token for you seamlessly, and is a drop in replacement for the current user API Key Authorization (requires v1.0.2 of the SDK or higher).
Here is how you use client credentials / bearer token in the SDK:
from benchling_sdk.benchling import Benchling
from benchling_sdk.auth.client_credentials_oauth2 import ClientCredentialsOAuth2

auth_method = ClientCredentialsOAuth2(client_id="{id_here}",client_secret="{secret_here}",token_url="https://{tenant_name}.benchling.com/api/v2/token")
benchling = Benchling(url="https://{tenant_name}.benchling.com", auth_method=auth_method)

exampleEntries = benchling.entries.list_entries()
print(next(exampleEntries)) # prints the first page
Compare this to using a user API key with the SDK:
from benchling_sdk.benchling import Benchling
from benchling_sdk.auth.api_key_auth import ApiKeyAuth # User API Key Auth Object

auth_method = ApiKeyAuth("user_api_key") # User API Key
benchling = Benchling(url="https://{tenant_name}.benchling.com", auth_method=auth_method)

exampleEntries = benchling.entries.list_entries()
print(next(exampleEntries)) # prints the first page
As you can see, this is a quick update for those using the SDK!
Using the Interactive Docs
Many of our devs like to use their tenant specific API reference docs (eg: my.benchling.com/api/reference) to help test / construct queries. Right now, those docs also provide a cURL example of how to make the query. These can still be used with apps, but will a slight modification.
Here is what the cURL normally looks like for the listEntries endpoint using an API key:
curl -X GET "https://biotechtx.benchling.com/api/v2/entries?pageSize=3&sort=modifiedAt%3Adesc" \
    -H "accept: application/json" \
    -H "Authorization: Basic {api_key}"
To use an app’s Bearer token (see Getting a Bearer Token section above for retrieving it), you can substitute the “Authorization” header for the Bearer token:
curl -X GET "https://{tenant_name}.benchling.com/api/v2/entries?pageSize=5&sort=modifiedAt%3Adesc" \
    -H  "accept: application/json" \
    -H "Authorization: Bearer {access_token}"
App Features
Seeing app activity and auditing apps
App activity
Once you’ve gone through the Calling the API as an app section, we can look at its activity! We can see when it called the API by the “Last Seen” column in the Tenant, Org, and Team pages under the “APPS” tab:

Auditing apps
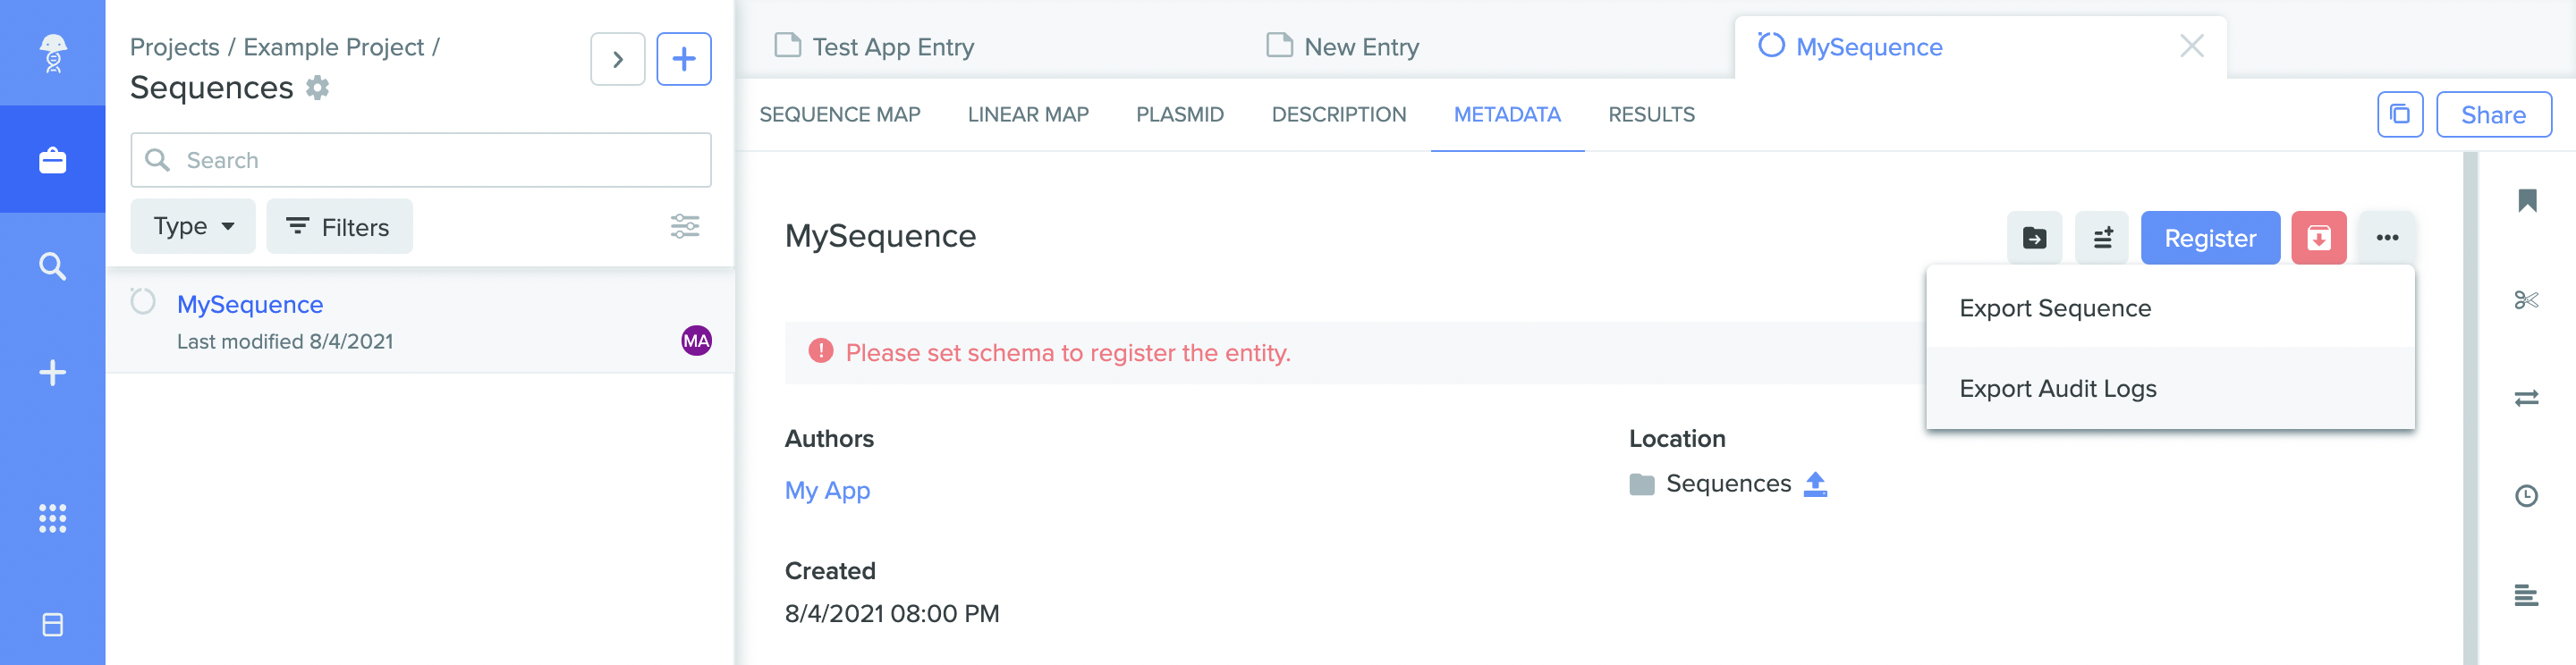
Apps are audited alongside users. See example POST curl below for creating a sequence using an access token:
curl -X POST "https://{your-tenant}.benchling.com/api/v2/dna-sequences" \
-H "accept: application/json" \
-H "Content-Type: application/json" \
-H "Authorization: Bearer {access_token}" \
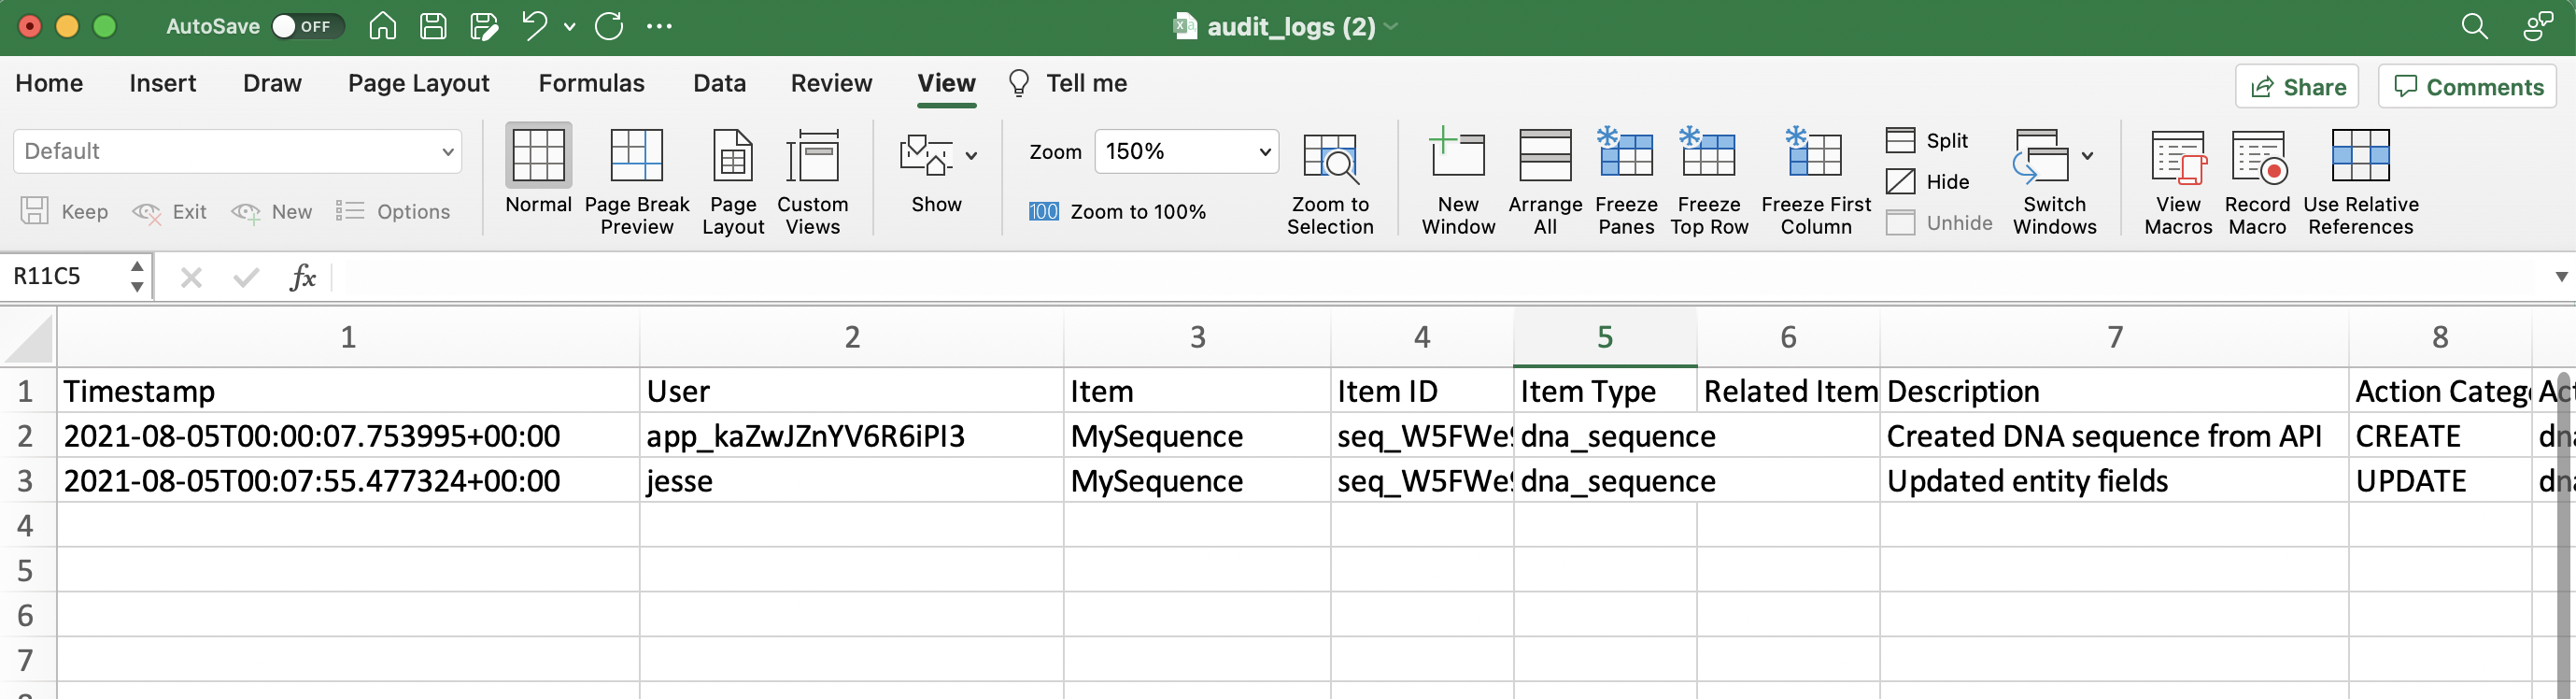
-d "{\"bases\":\"TTAATATACCGGTGCATG\",\"folderId\":\"{destination_folder_API_ID}\",\"isCircular\":true,\"name\":\"MySequence\"}"I can see that the app created this sequence when I view that object’s audit logs, alongside changes made by users.