Push Benchling Request Notification to Slack
Create a simple event based integration with Benchling!
Overview
A guide to a serverless integration using AWS services to connect Benchling Requests Application with your Slack Workspace. This integration will use the Benchling Events Framework to post a notification of a newly created Benchling Request to a Slack channel.

Final Slack Notification
High Level Integration Flow

The Integration Flow
Benchling Requests: A single system for request submission and fulfillment and an integrated part of Benchling Platform.
AWS EventBridge: Benchling events currently can only be received through AWS EventBridge Partner Event Sources.
AWS Lambda: AWS lambda is a serverless compute service that runs your code in response to events such as EventBridge partner events and automatically manages the underlying compute resources for you.
AWS Cloudwatch: AWS CloudWatch monitors your Amazon Web Services (AWS) resources and the applications you run on AWS in real time, essentially built in logs.
Slack: Cloud-based team collaboration tool commonly used to simplify internal communication in order to increase efficiency.
Prerequisites
- AWS Account with access to AWS EventBridge, AWS Lambda, AWS CloudWatch
- Benchling Events Framework Enabled
- Slack Workspace with Admin permissions to create a Slack App
Benchling Configurations
Benchling Request
Let’s start by configuring a simple Benchling Request within Benchling’s Admin Request Settings. Refer to the help article for details on configuring a new Request Schema.
For this example use the below JSON to configure a Benchling Request Schema with an optional field “Request Comments”.
 {
    "fields": [
        {
            "isMulti": false,
            "type": "text",
            "displayName": "Request Comments",
            "name": "request_comments",
            "isRequired": false
        }
    ],
    "idPrefix": "SR",
    "taskSchemas": []
}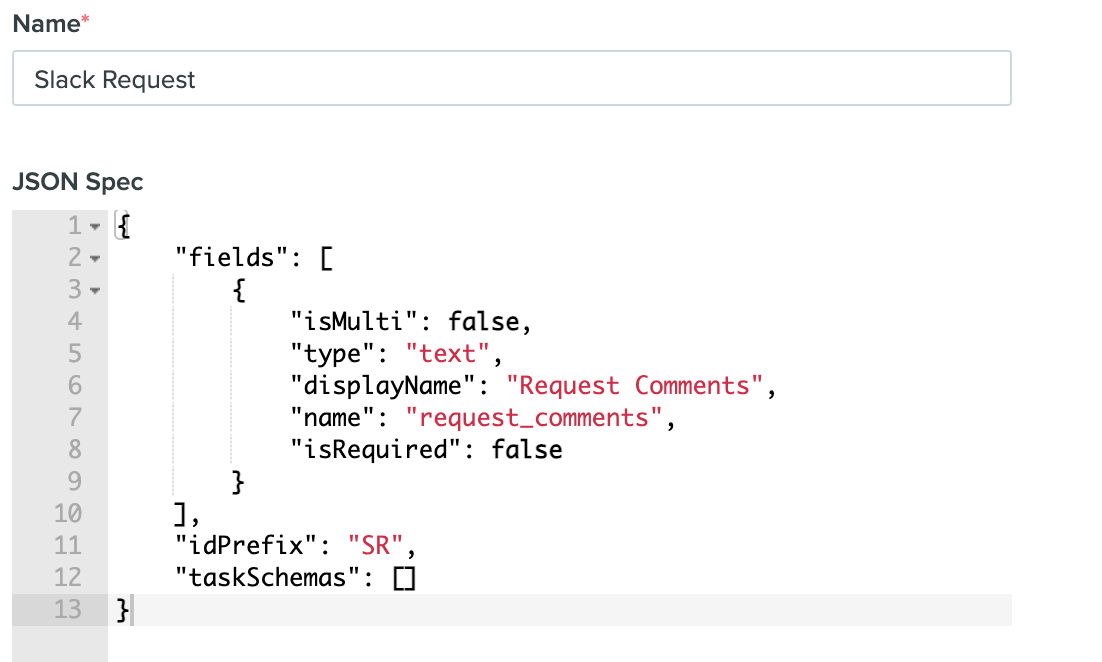
Request Schema Configuration
Benchling Events
Benchling’s Events Configuration is part of the Benchling Developer Console and needs to be enabled by a Benchling Admin. Please reach out to your Benchling Contact to get access to this functionality.
Next, before continuing, follow the Events Getting Started Guide to subscribe to the v2.request.created event.
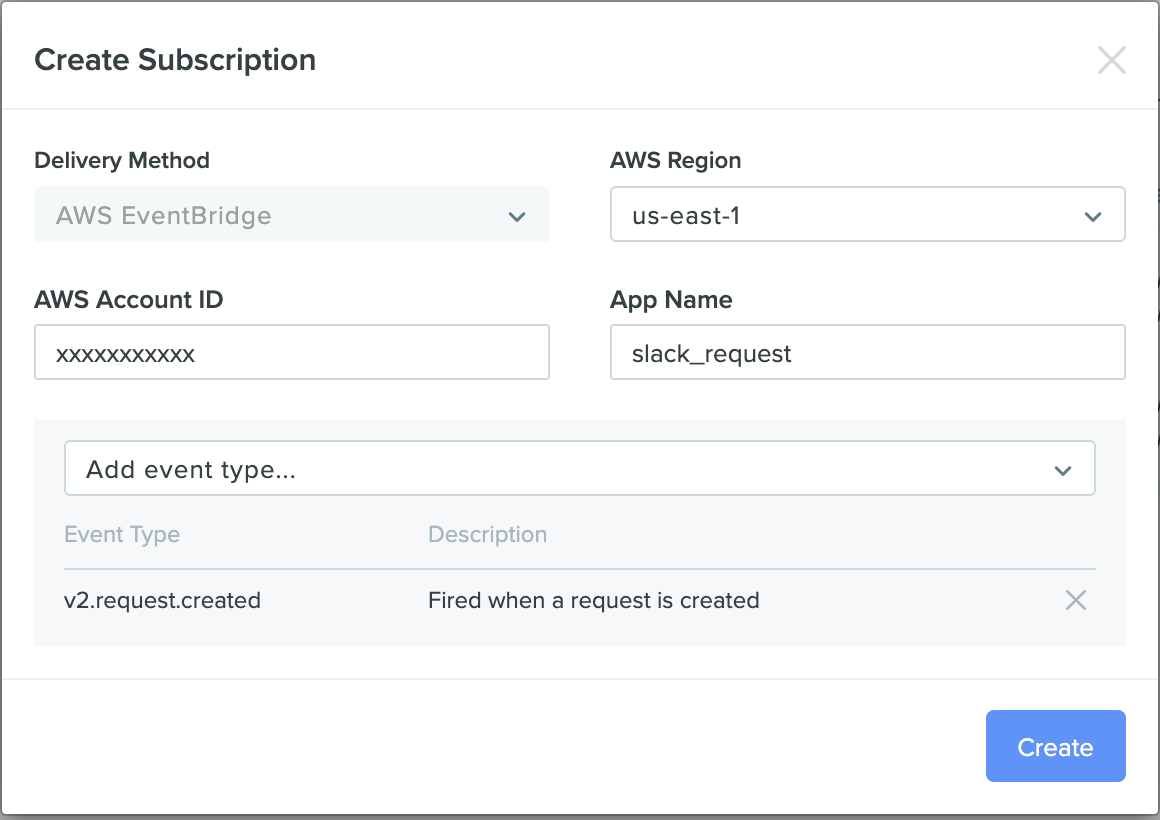
Create an Event Subscription in Benchling
AWS EventBridge
After activating your event bus in the linked AWS account, set the following AWS EventBridge event rule pattern to route the v2.request.created event:
Associate the Event Rule to the correct Event BusMake sure to select the Benchling event bus you activated from the available event buses dropdown, before creating a new rule. AWS will have a default event bus pre-selected which is not the correct event bus.
{
  "detail-type": [
    "v2.request.created"
  ]
}
*Note: If you have other requests configured in Benchling the rule above will apply to all requests, you can add additional fields to the event rule to filter on a specific request.
For example:
{
  "detail-type": [
    "v2.request.created"
  ],
  "detail": {
    "schema": {
      "name": ["Slack Request"]
    }
  }
}
Add a CloudWatch Log group target for the event rule to confirm you are able to receive events when a request is created.
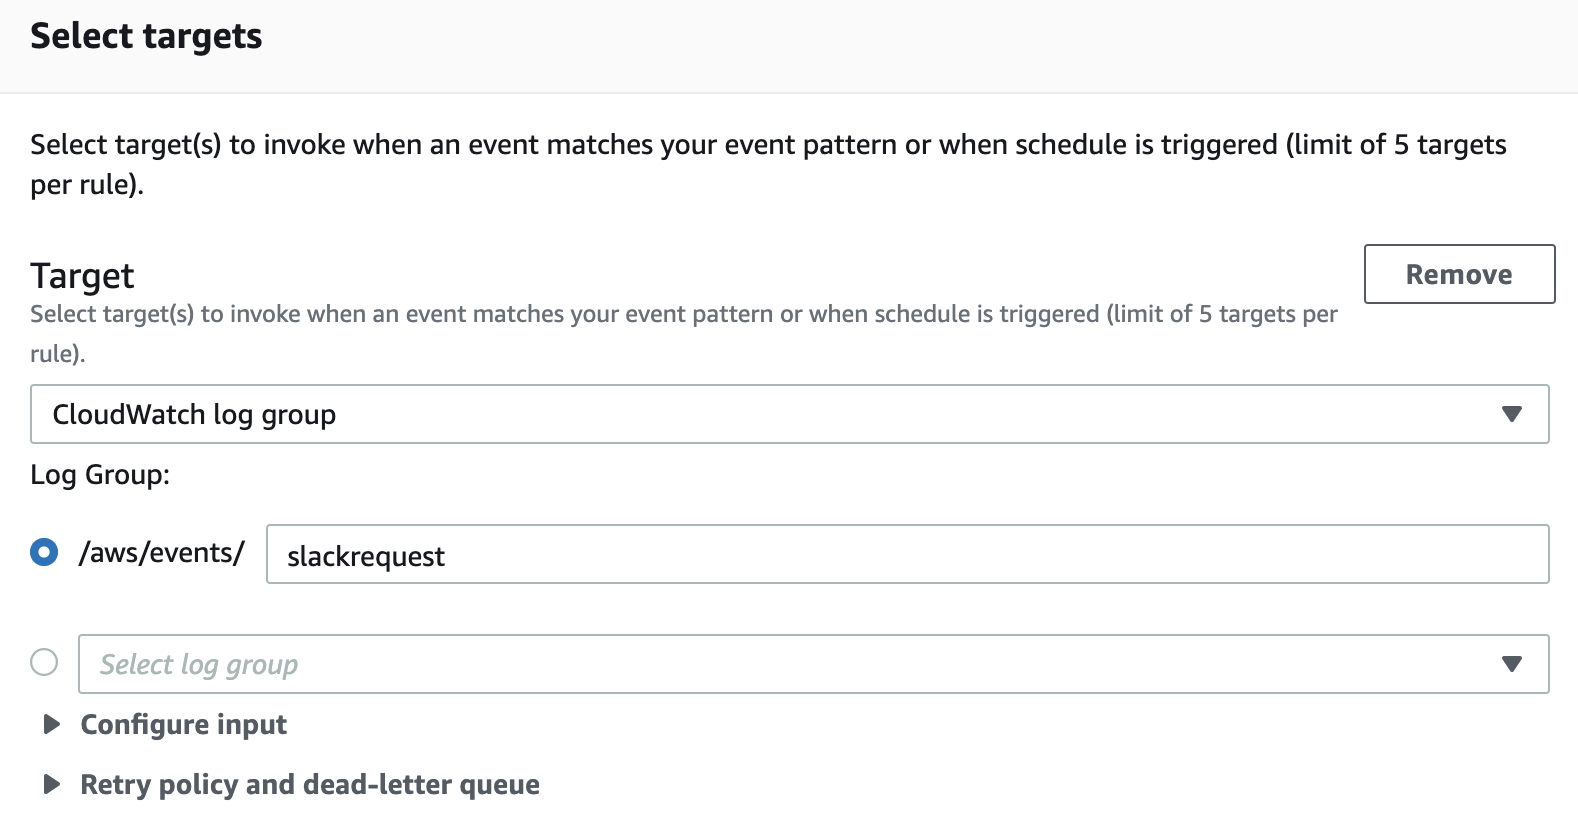
Cloudwatch Log Group
Create a new request in Benchling, and check the CloudWatch log group to confirm you are able to receive the event in your AWS environment.
Slack Configuration
Now we can configure our Slack workspace to receive messages via a webhook URL. From the setup we will need the Slack authentication Token and a Webhook URL for our Lambda function.
- Go to https://api.slack.com/apps/ and create a new app in your workspace.
- Go to Incoming Webhooks and activate it and create a webhook URL in the Slack channel you would like to receive the messages.
- Save the Webhook URL that is generated.
- Go into the app settings. Find the OAuth & Permissions options under Features, and save the access token.
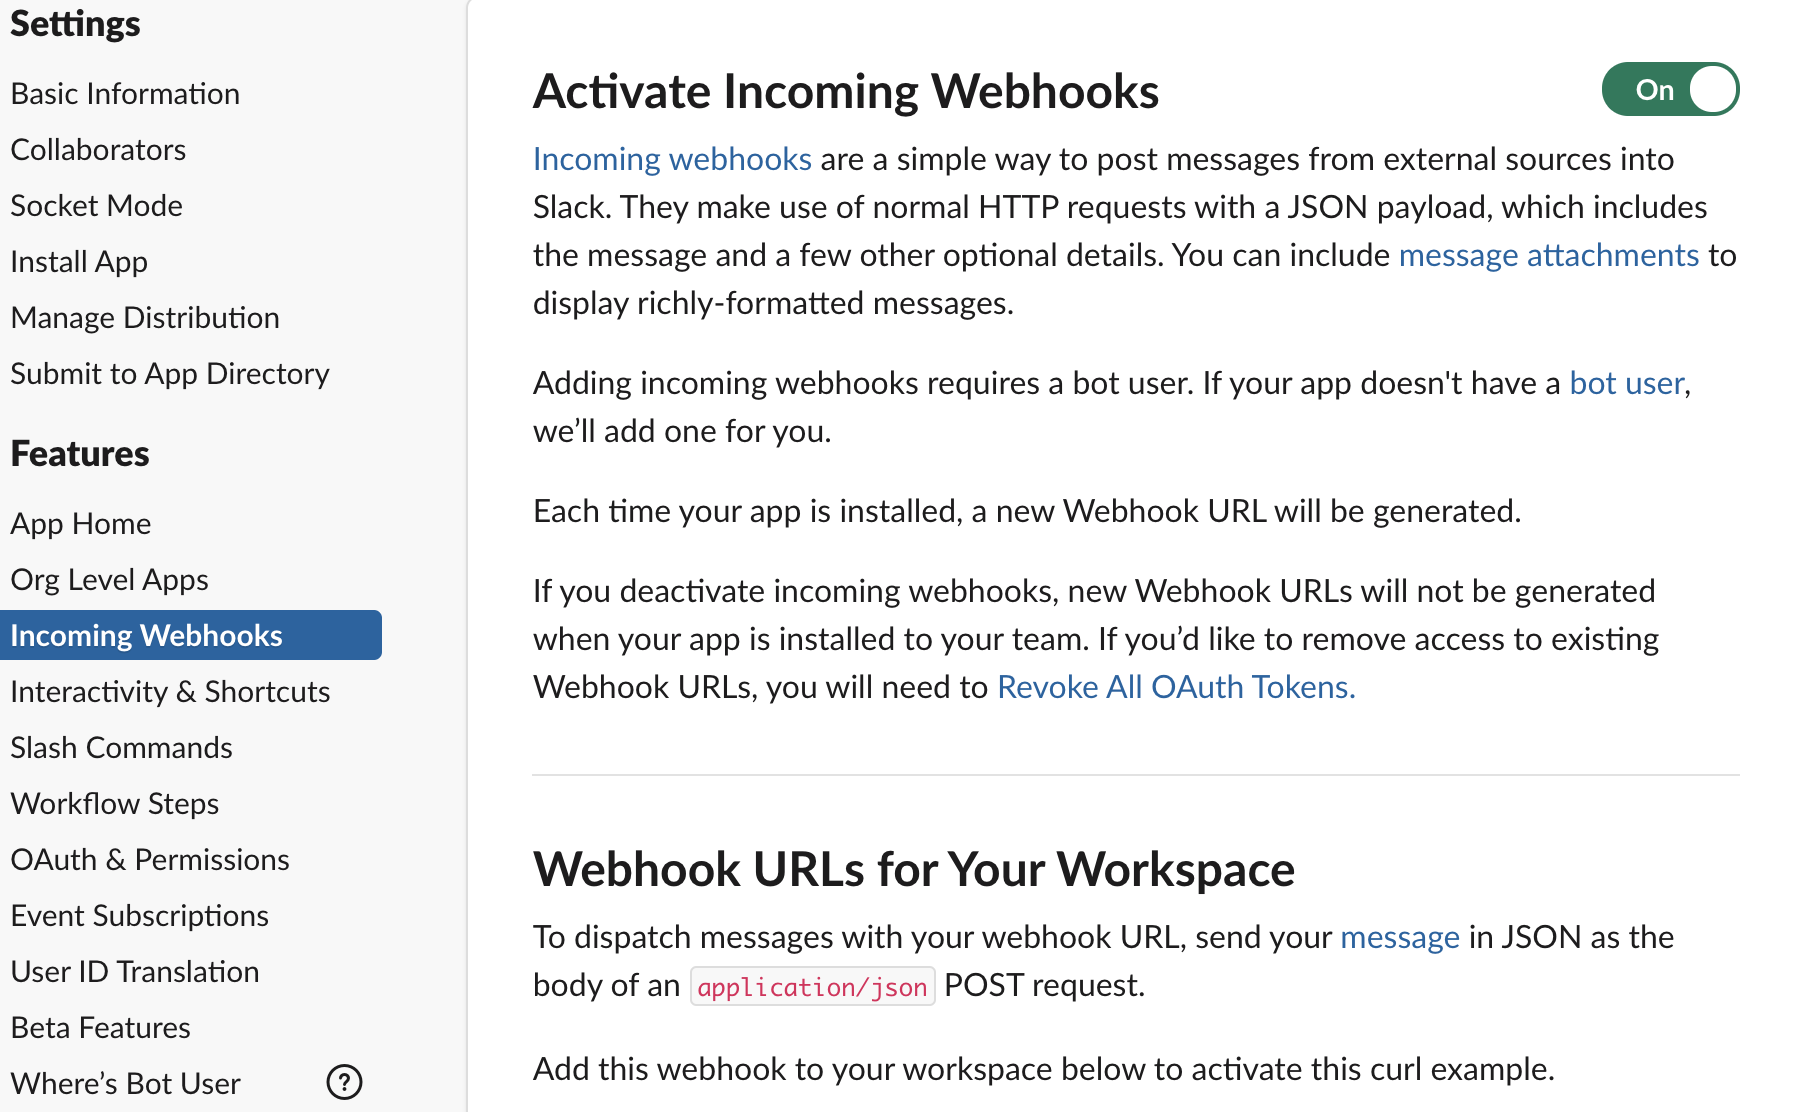
Activate Incoming Webhooks in Slack App Settings
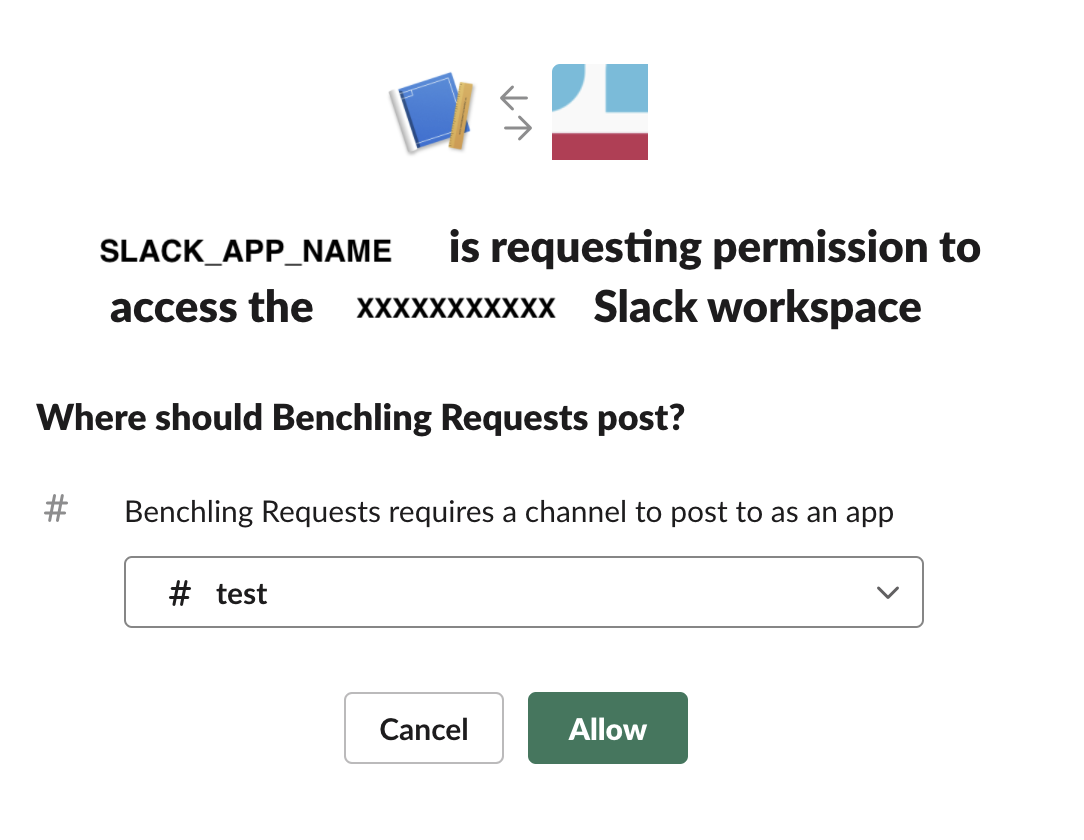
Allow permission to post in Slack Channel
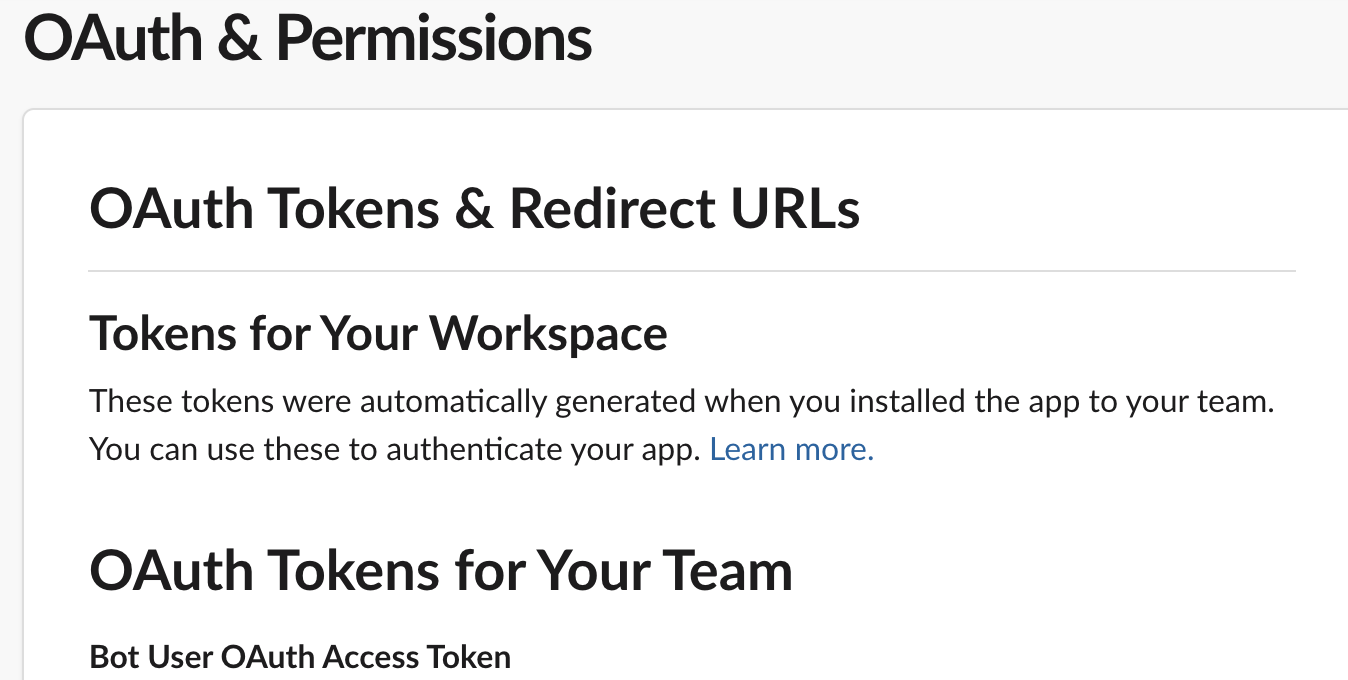
Extract Oauth Token
Remember the Webhook URL and Slack token will be referenced in our Lambda function.
AWS Lambda
In same AWS account and region that you set up your Event Bridge Rule, author a new Lambda function from scratch and select latest Python runtime.
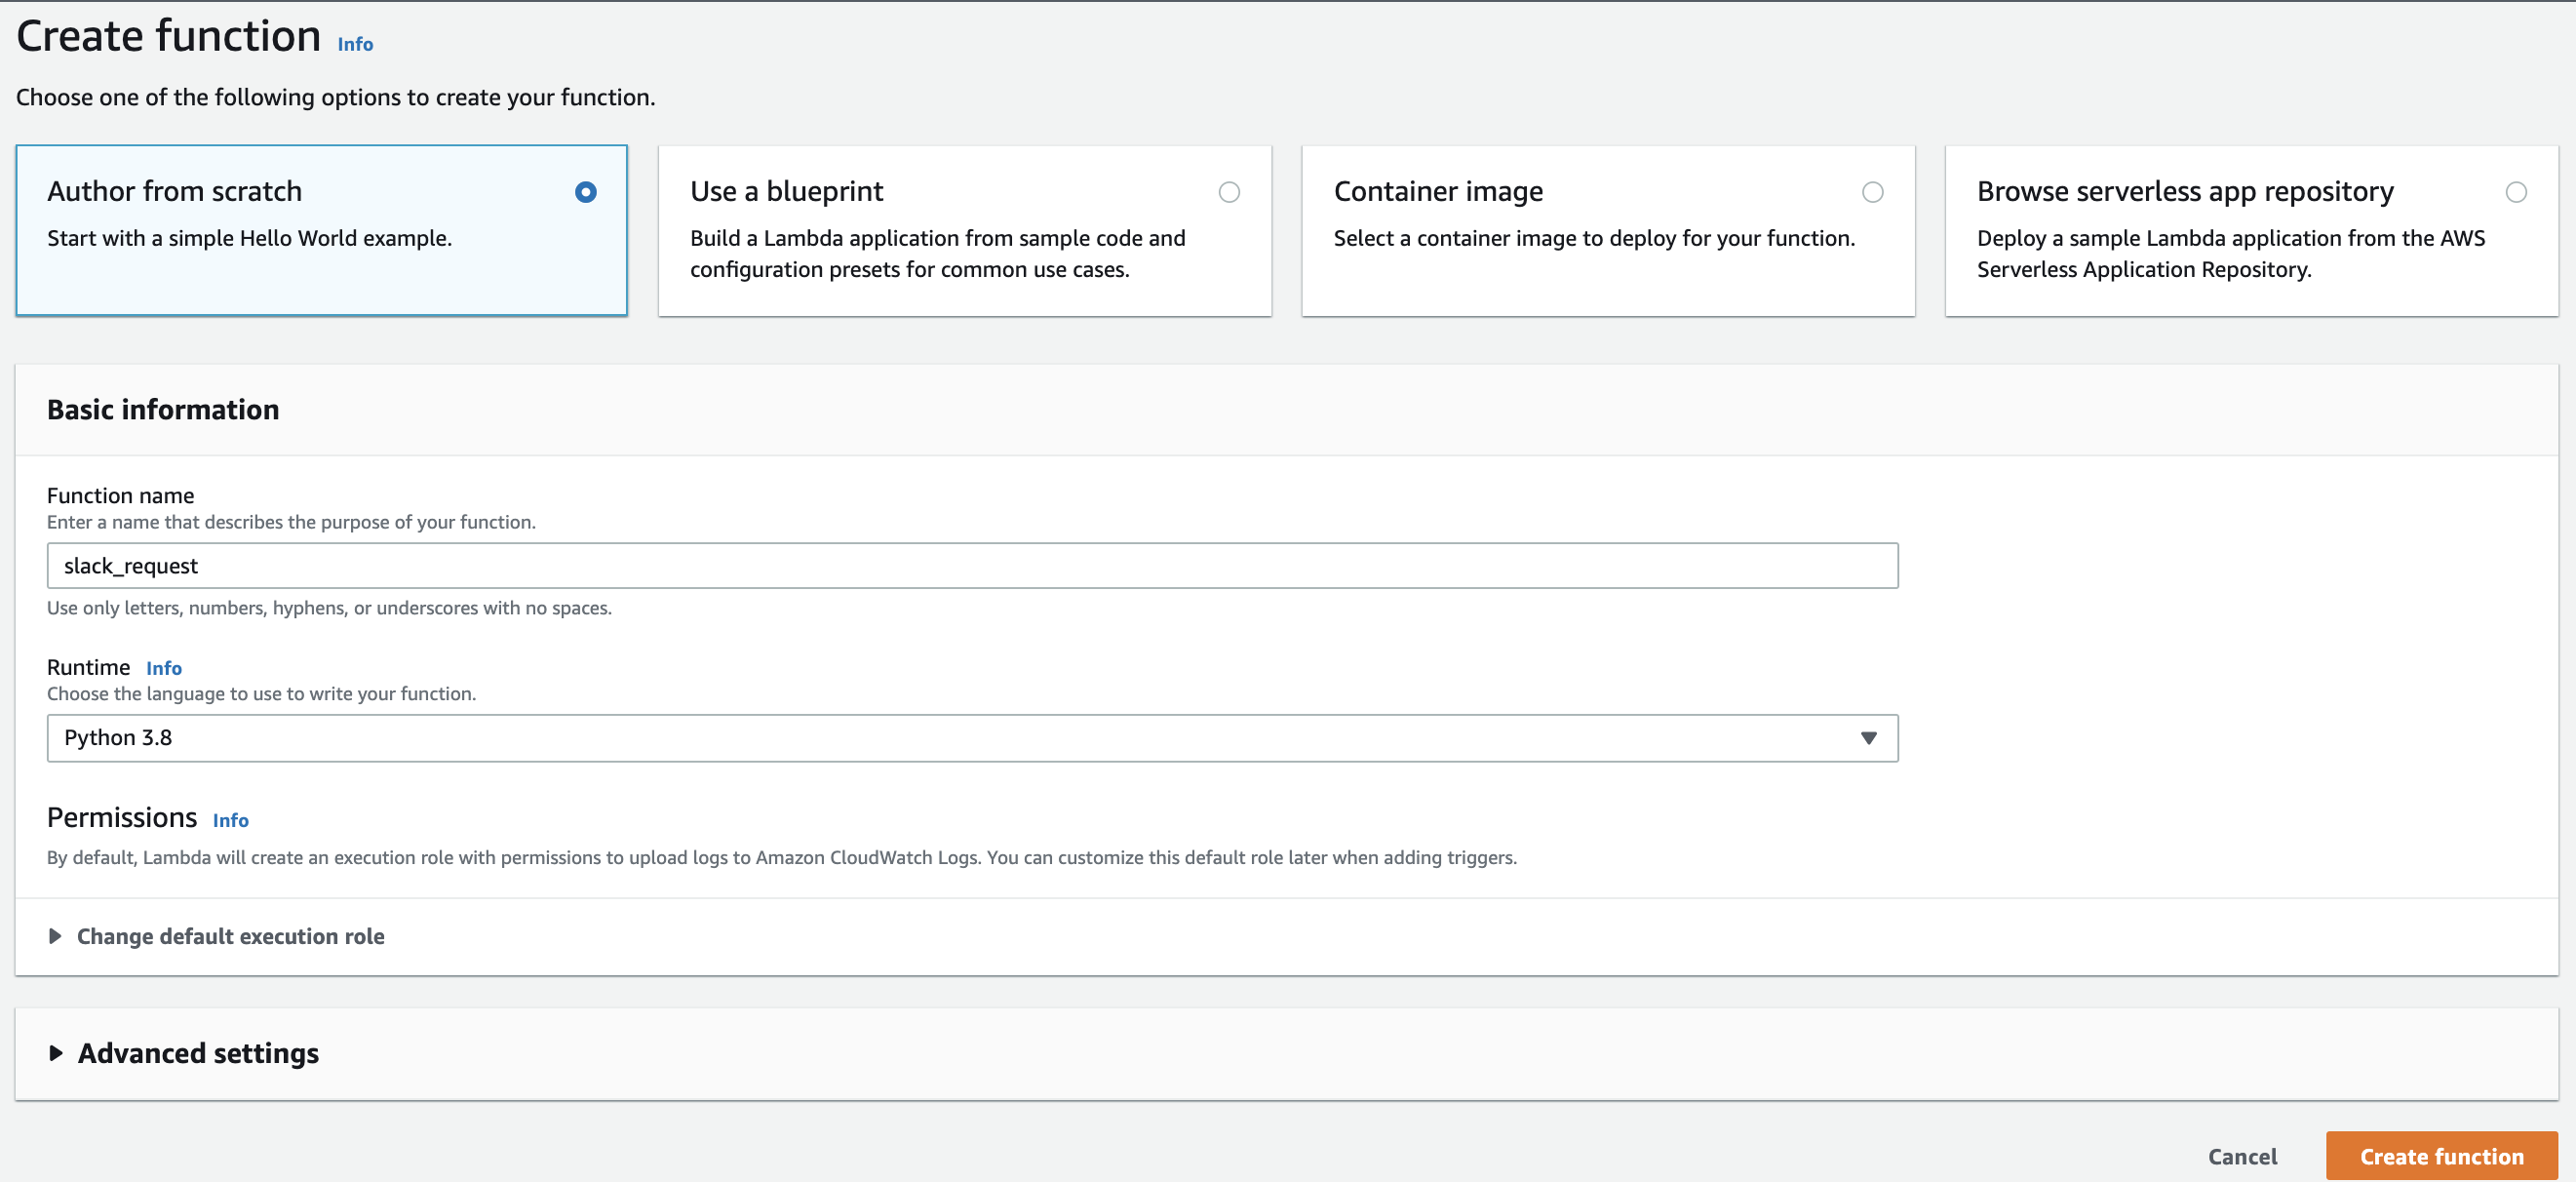
Author a new Lambda Function in Python
In the Lambda code editor paste the lambda_function.py file available in public Benchling Integration Examples Github repository.
Create the environment variables referenced in the code, and enter the values from your Slack App settings.
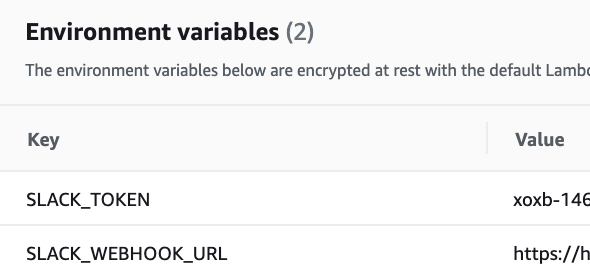
Lambda Function Environment Variables
You can leave the remaining basic Lambda settings or adjust appropriately based on the usage of the function. Deploy your Function.

Deploy Lambda Function
Final step is to connect your EventBridge Rule to your deployed Lambda function.
Two ways you can do this from the AWS console:
-
Directly in the Lambda settings you can Add a trigger for the Lambda function. Use the dropdown to select AWS EventBridge and use the existing rule that we set up.
-
Navigate back to EventBridge Rule and edit the rule. You can now add an additional target similar to how we set up the Log Group. Select AWS Lambda in the dropdown options. The Lambda function that was deployed should be available. Don’t forget to update the rule settings after adding the target.
Either of the above options will set up a trigger for your Lambda function as seen below:

Trigger Lambda Function upon event delivery
🎊 Log into your Benchling account andcreate a Benchling Request to see the notification posted to the Slack channel! 🎊
Updated about 1 year ago
